



The right desk cable management solution depends on where the cable clutter occurs. Use cable magnets for loose charging cables on the desktop, a cable guide for device cables around a monitor shelf, an under-desk cable management system for power strips and adapters, or an integrated cable tray for a complete desk solution.
The key is not to force every cable into the same organizer. A clean setup uses different products for different cable zones.
At BALOLO, we approach cable management as part of the workspace architecture. Cables should remain accessible where you use them, and disappear where you do not.
Which Cable Management Product Do You Need?
Start by identifying the part of your setup that causes the problem.
| Cable management problem | Best solution | Recommended product |
| Charging cables keep falling behind the desk | Hold cable ends near the work surface | Cable Magnets |
| Thick HDMI, power or audio cables move around | Secure larger cables magnetically | Cable Magnet Large |
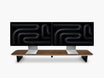
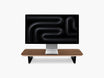
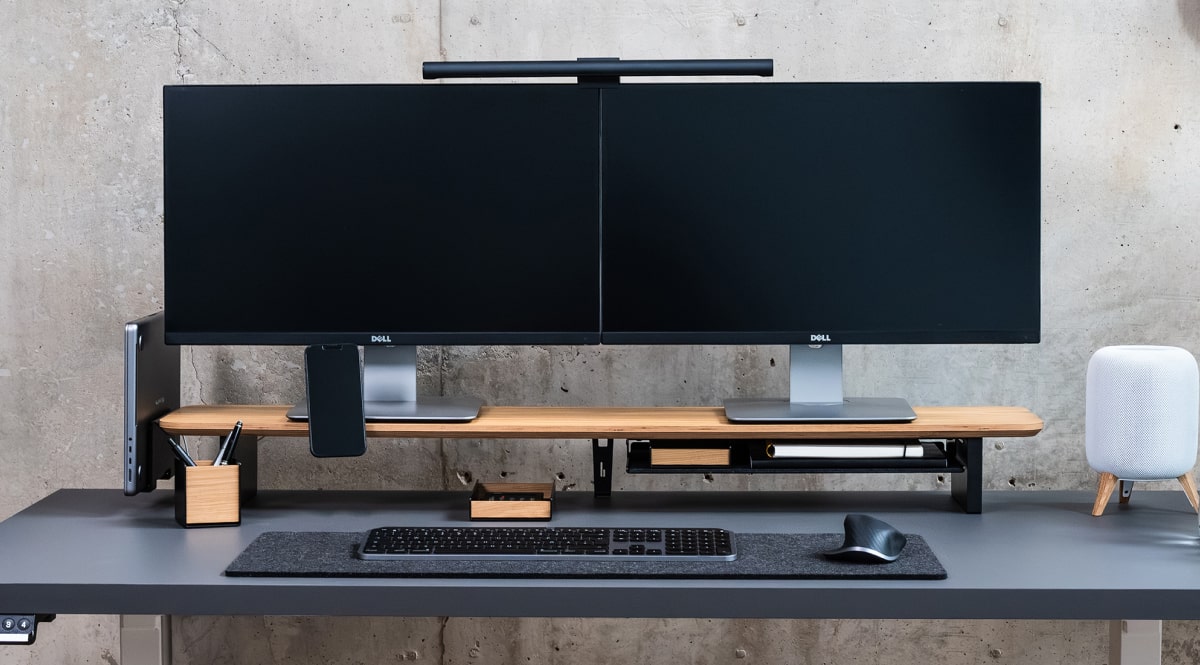
| Monitor and laptop cables are visible around the desk shelf | Bundle and route cables beneath the shelf | Cable Organizer for Setup Cockpit |
| Power strips and adapters lie on the floor | Mount the complete power infrastructure below the desk | Cable Management System |
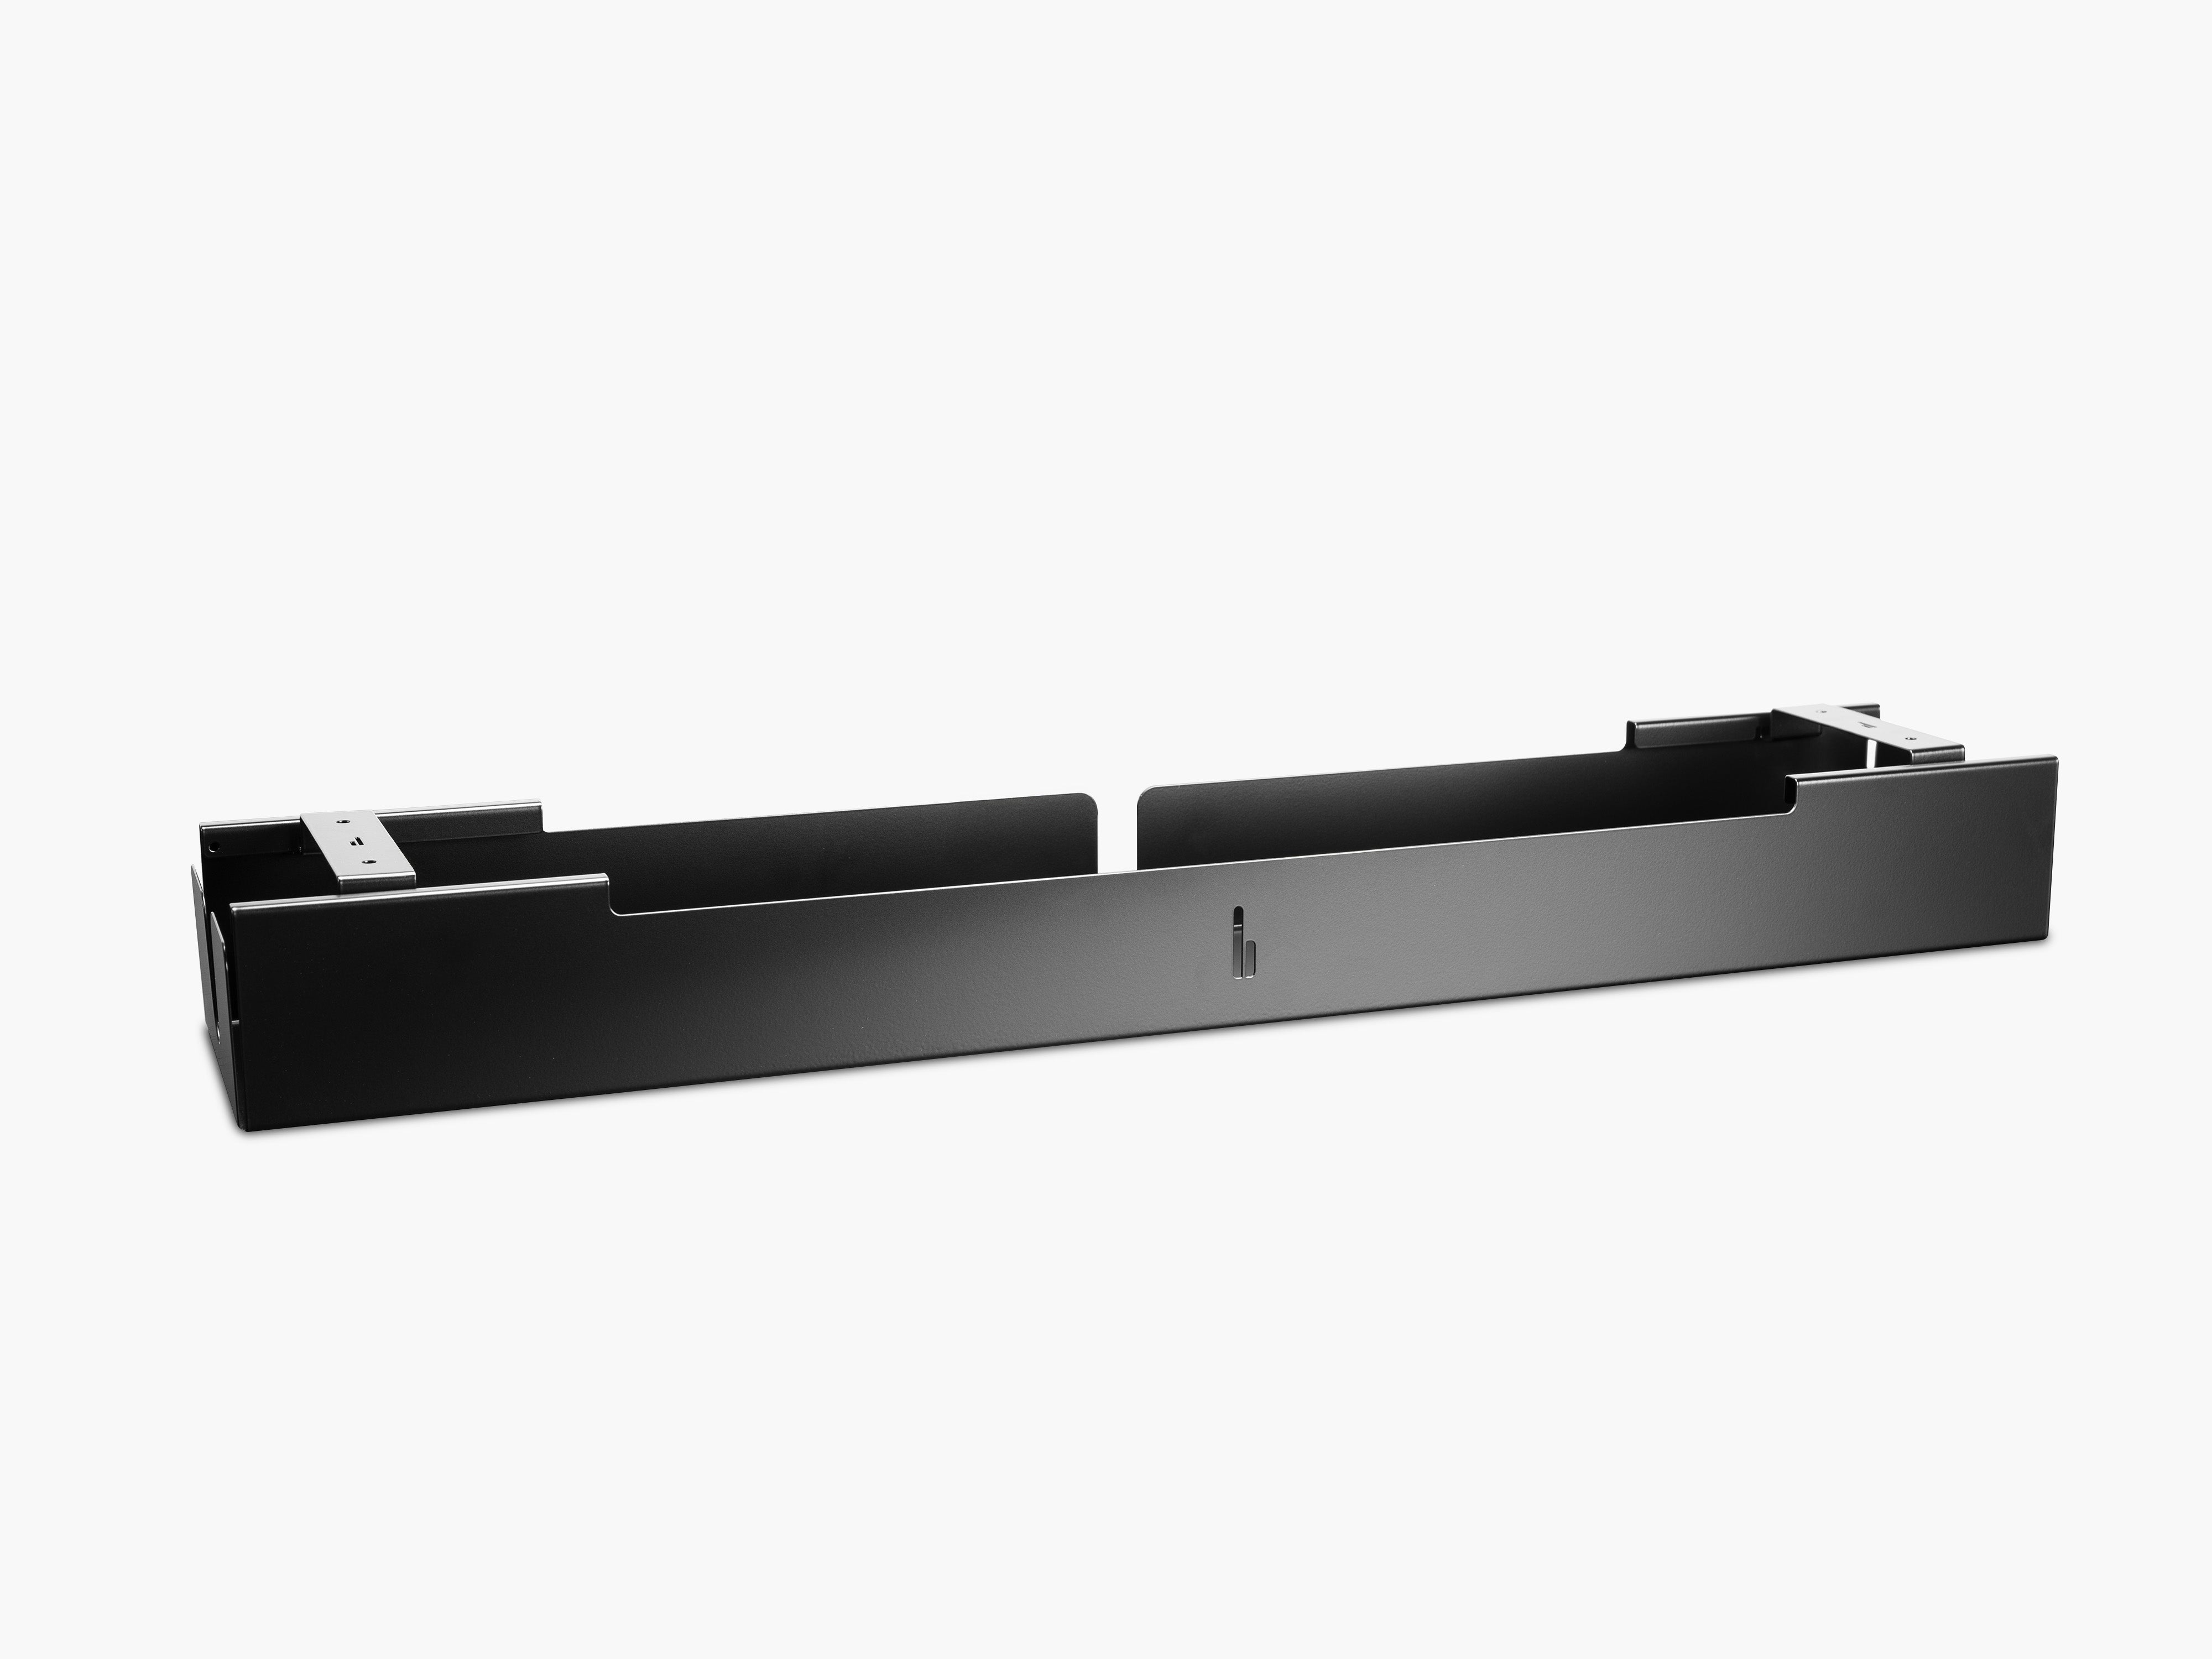
| You use a Desk Cockpit and want maximum integration | Conceal cables and the power strip inside the desk system | Cable Tray |
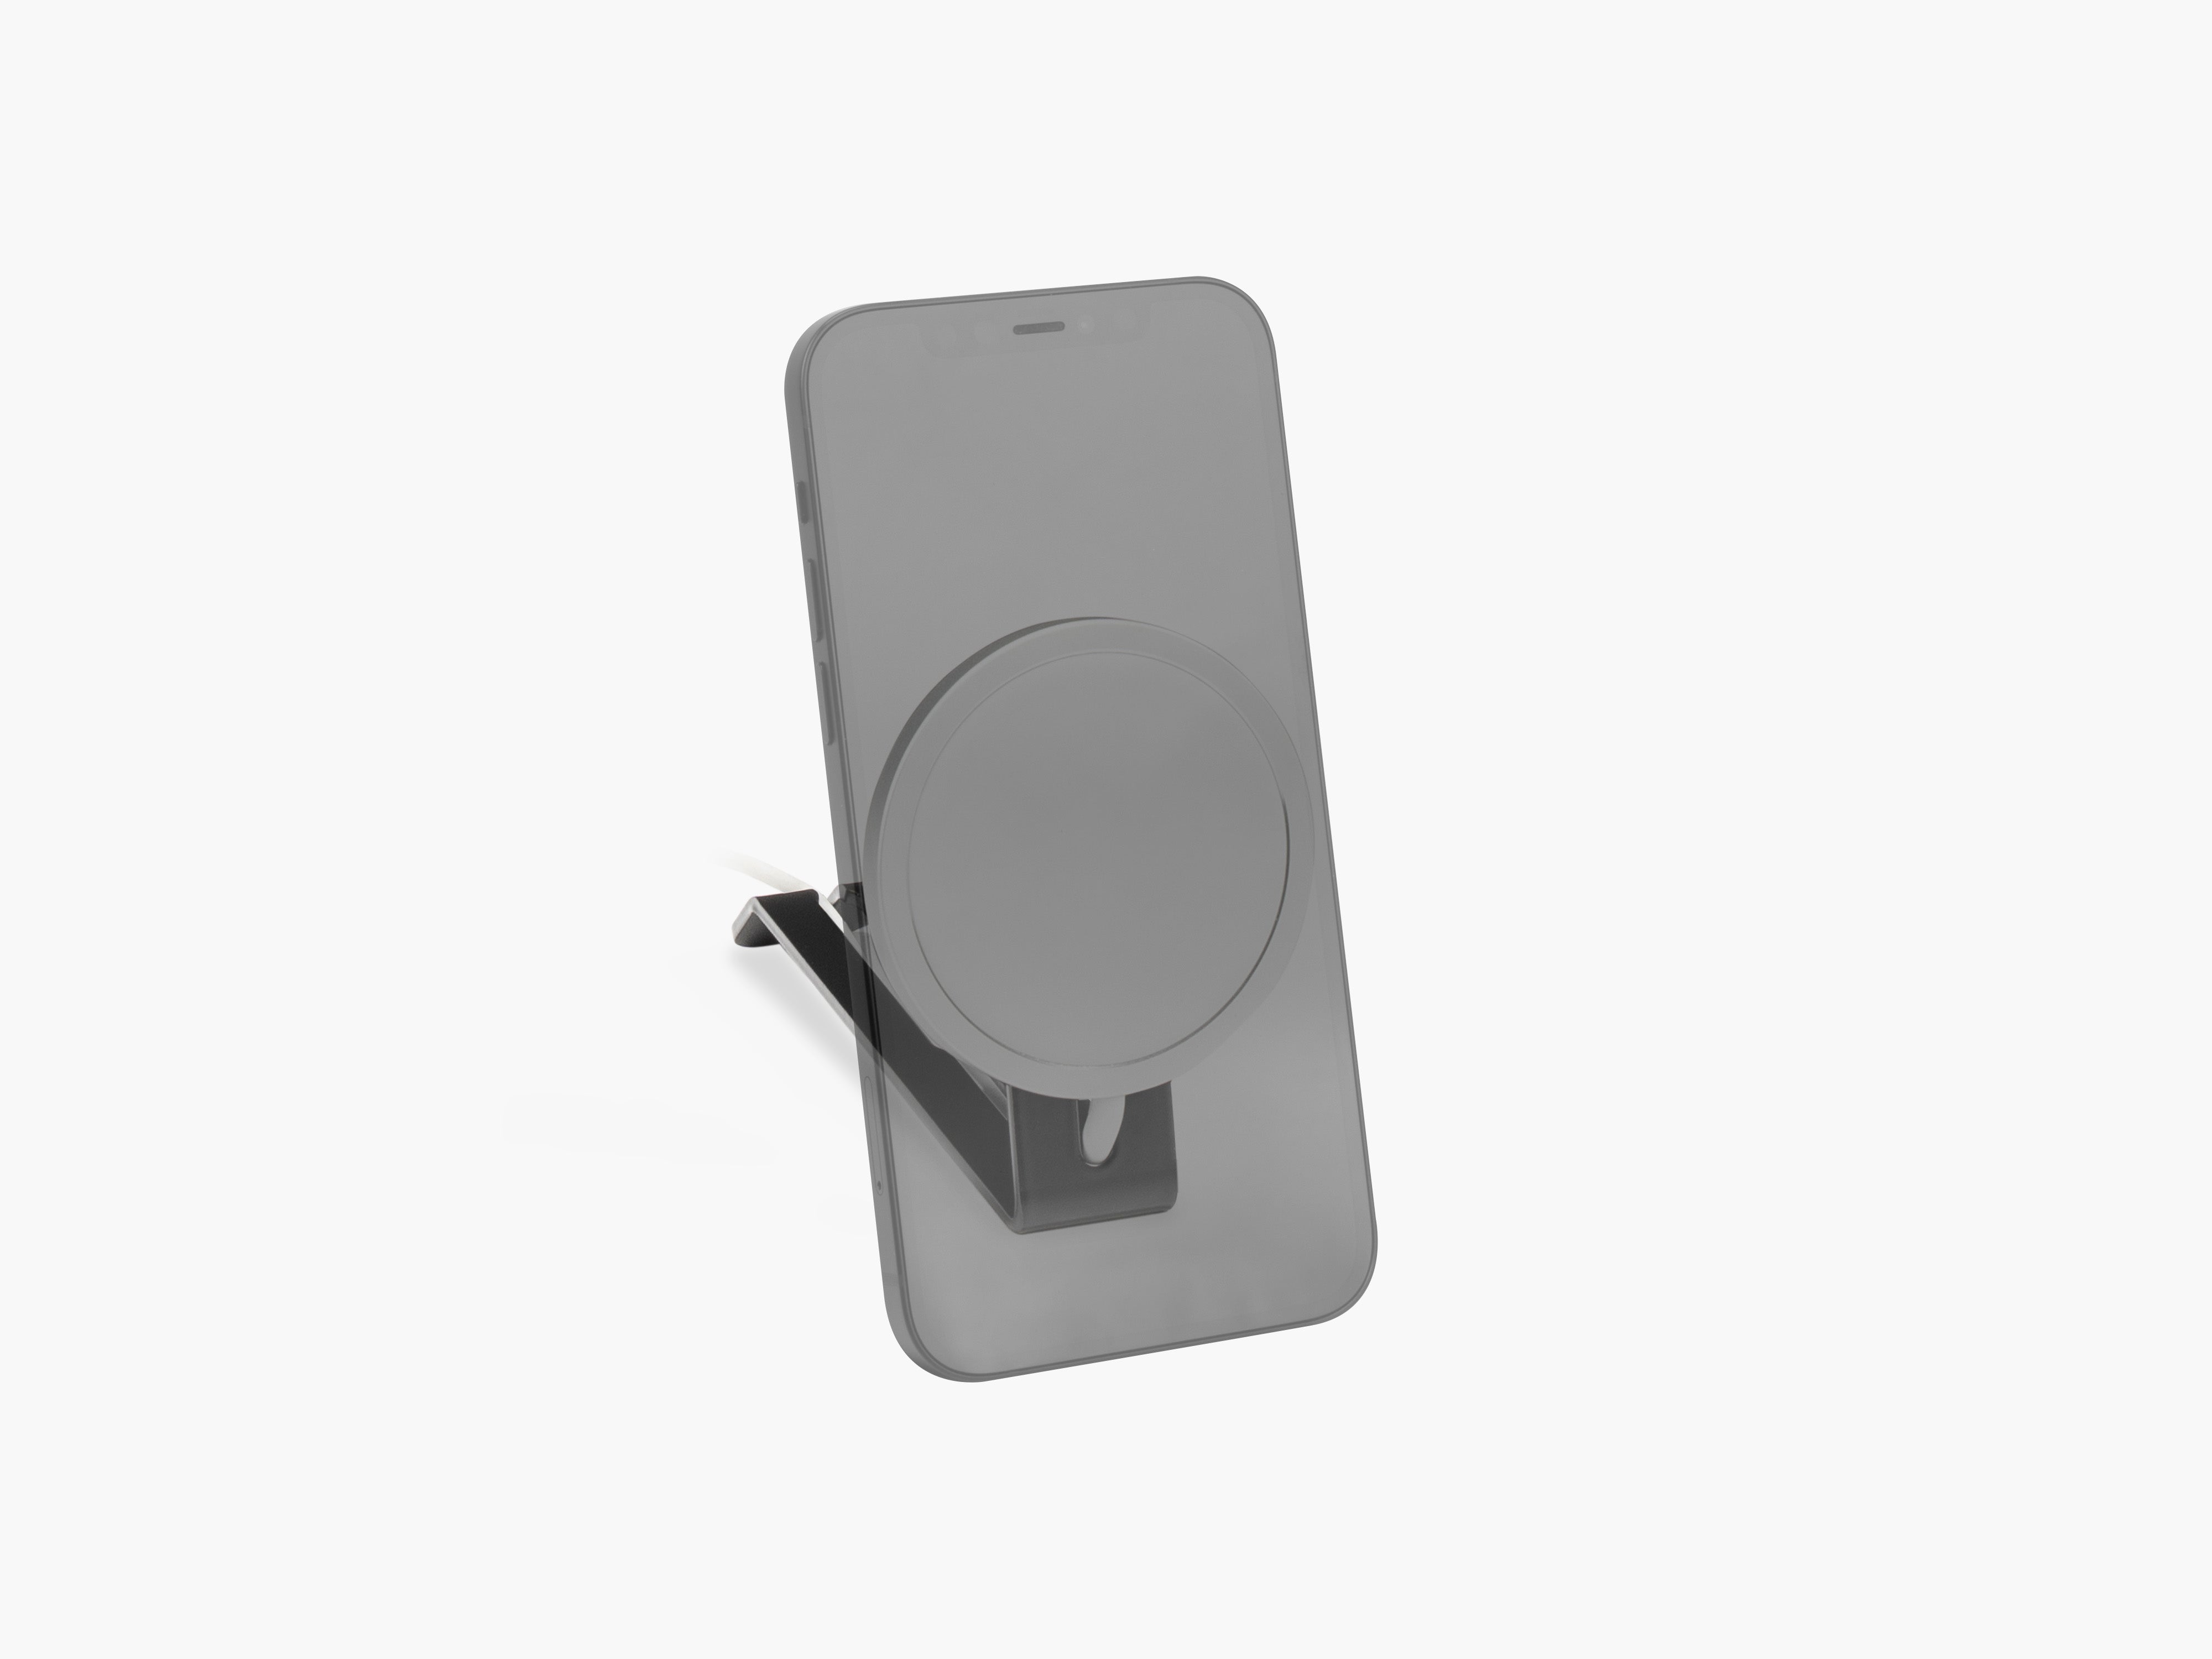
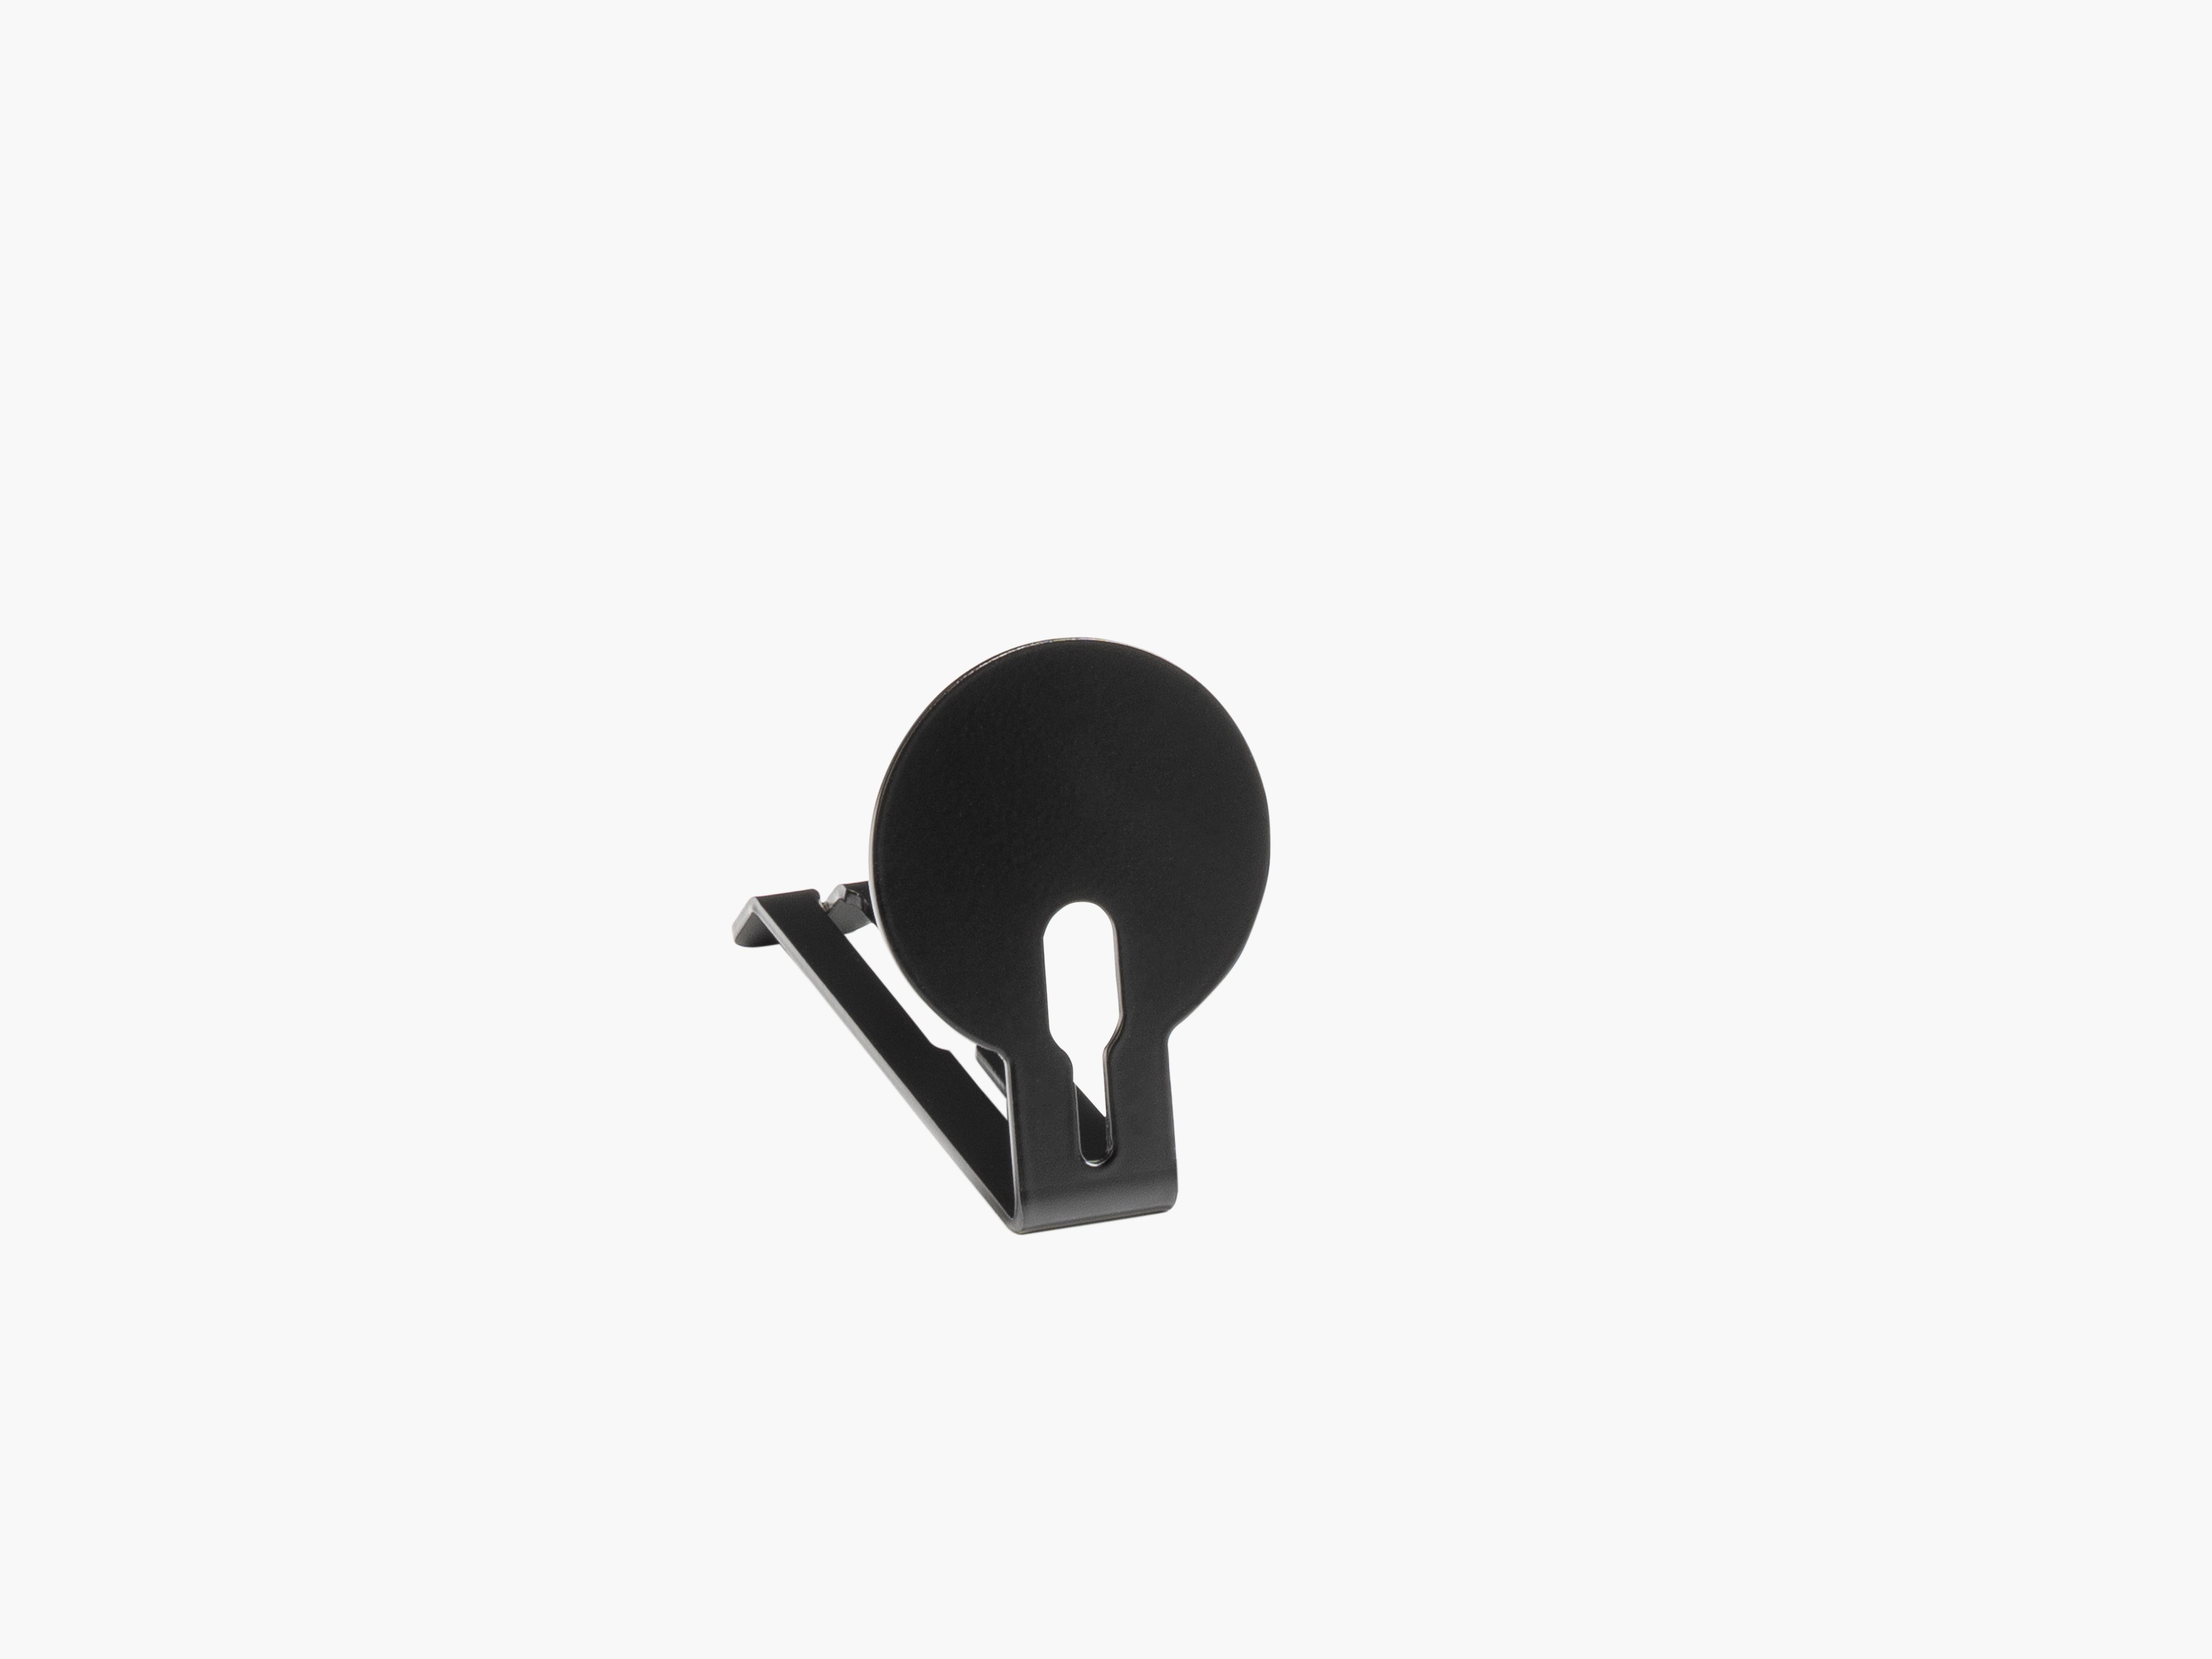
| You charge an iPhone at the Setup Cockpit | Integrate the charger and hide its cable | MagSafe Holder for Setup Cockpit |
These solutions cover the products currently included in our cable management collection, together with device-specific add-ons that include concealed cable routing.
Why Good Desk Cable Management Uses Different Zones
A typical home office has more cables than it first appears to.
There may be power cables for one or two monitors, a laptop charger, a docking station, speakers, a desk lamp, an external hard drive and several charging cables. Trying to hide everything with a few adhesive clips usually creates a temporary fix rather than a reliable system.
A better approach divides the workspace into four zones. For more ways to create clear, usable space on your desk overall, take a look at our article How to Create More Space on Your Desk Without Getting a Bigger Desk.
Zone 1: Cables You Use Every Day
These are charging cables that you regularly connect and disconnect:
- USB-C cables
- Smartphone charging cables
- Headphone cables
- Tablet charging cables
- Camera or accessory cables
They need to remain visible and accessible. The goal is not to hide them completely. The goal is to give each cable a defined position.
Zone 2: Cables Connected to Permanent Devices
Monitor, laptop dock and speaker cables normally remain connected for long periods. They should be bundled and guided behind or beneath the central part of the setup.
These cables need a structured route rather than frequent access.
Zone 3: Power Infrastructure Under the Desk
Power strips, large adapters and excess cable length should not sit on the desktop or floor.
This is where under-desk cable management becomes essential. The system must be strong enough to hold both the cables and the heavier components connected to them.
Zone 4: The Route to the Wall Socket
Even a perfectly organized desktop can still look unfinished when several cables hang separately from the back of the desk.
Ideally, only one organized cable bundle should travel from the desk to the wall. This becomes especially important with a height-adjustable desk, where the cables must also have enough length to move safely between sitting and standing positions.
Use Case 1: Charging Cables Keep Falling Behind the Desk
Best Product: Cable Magnets
One of the most common cable management problems is also one of the smallest: you unplug a device, release the cable and watch it disappear behind the desk.
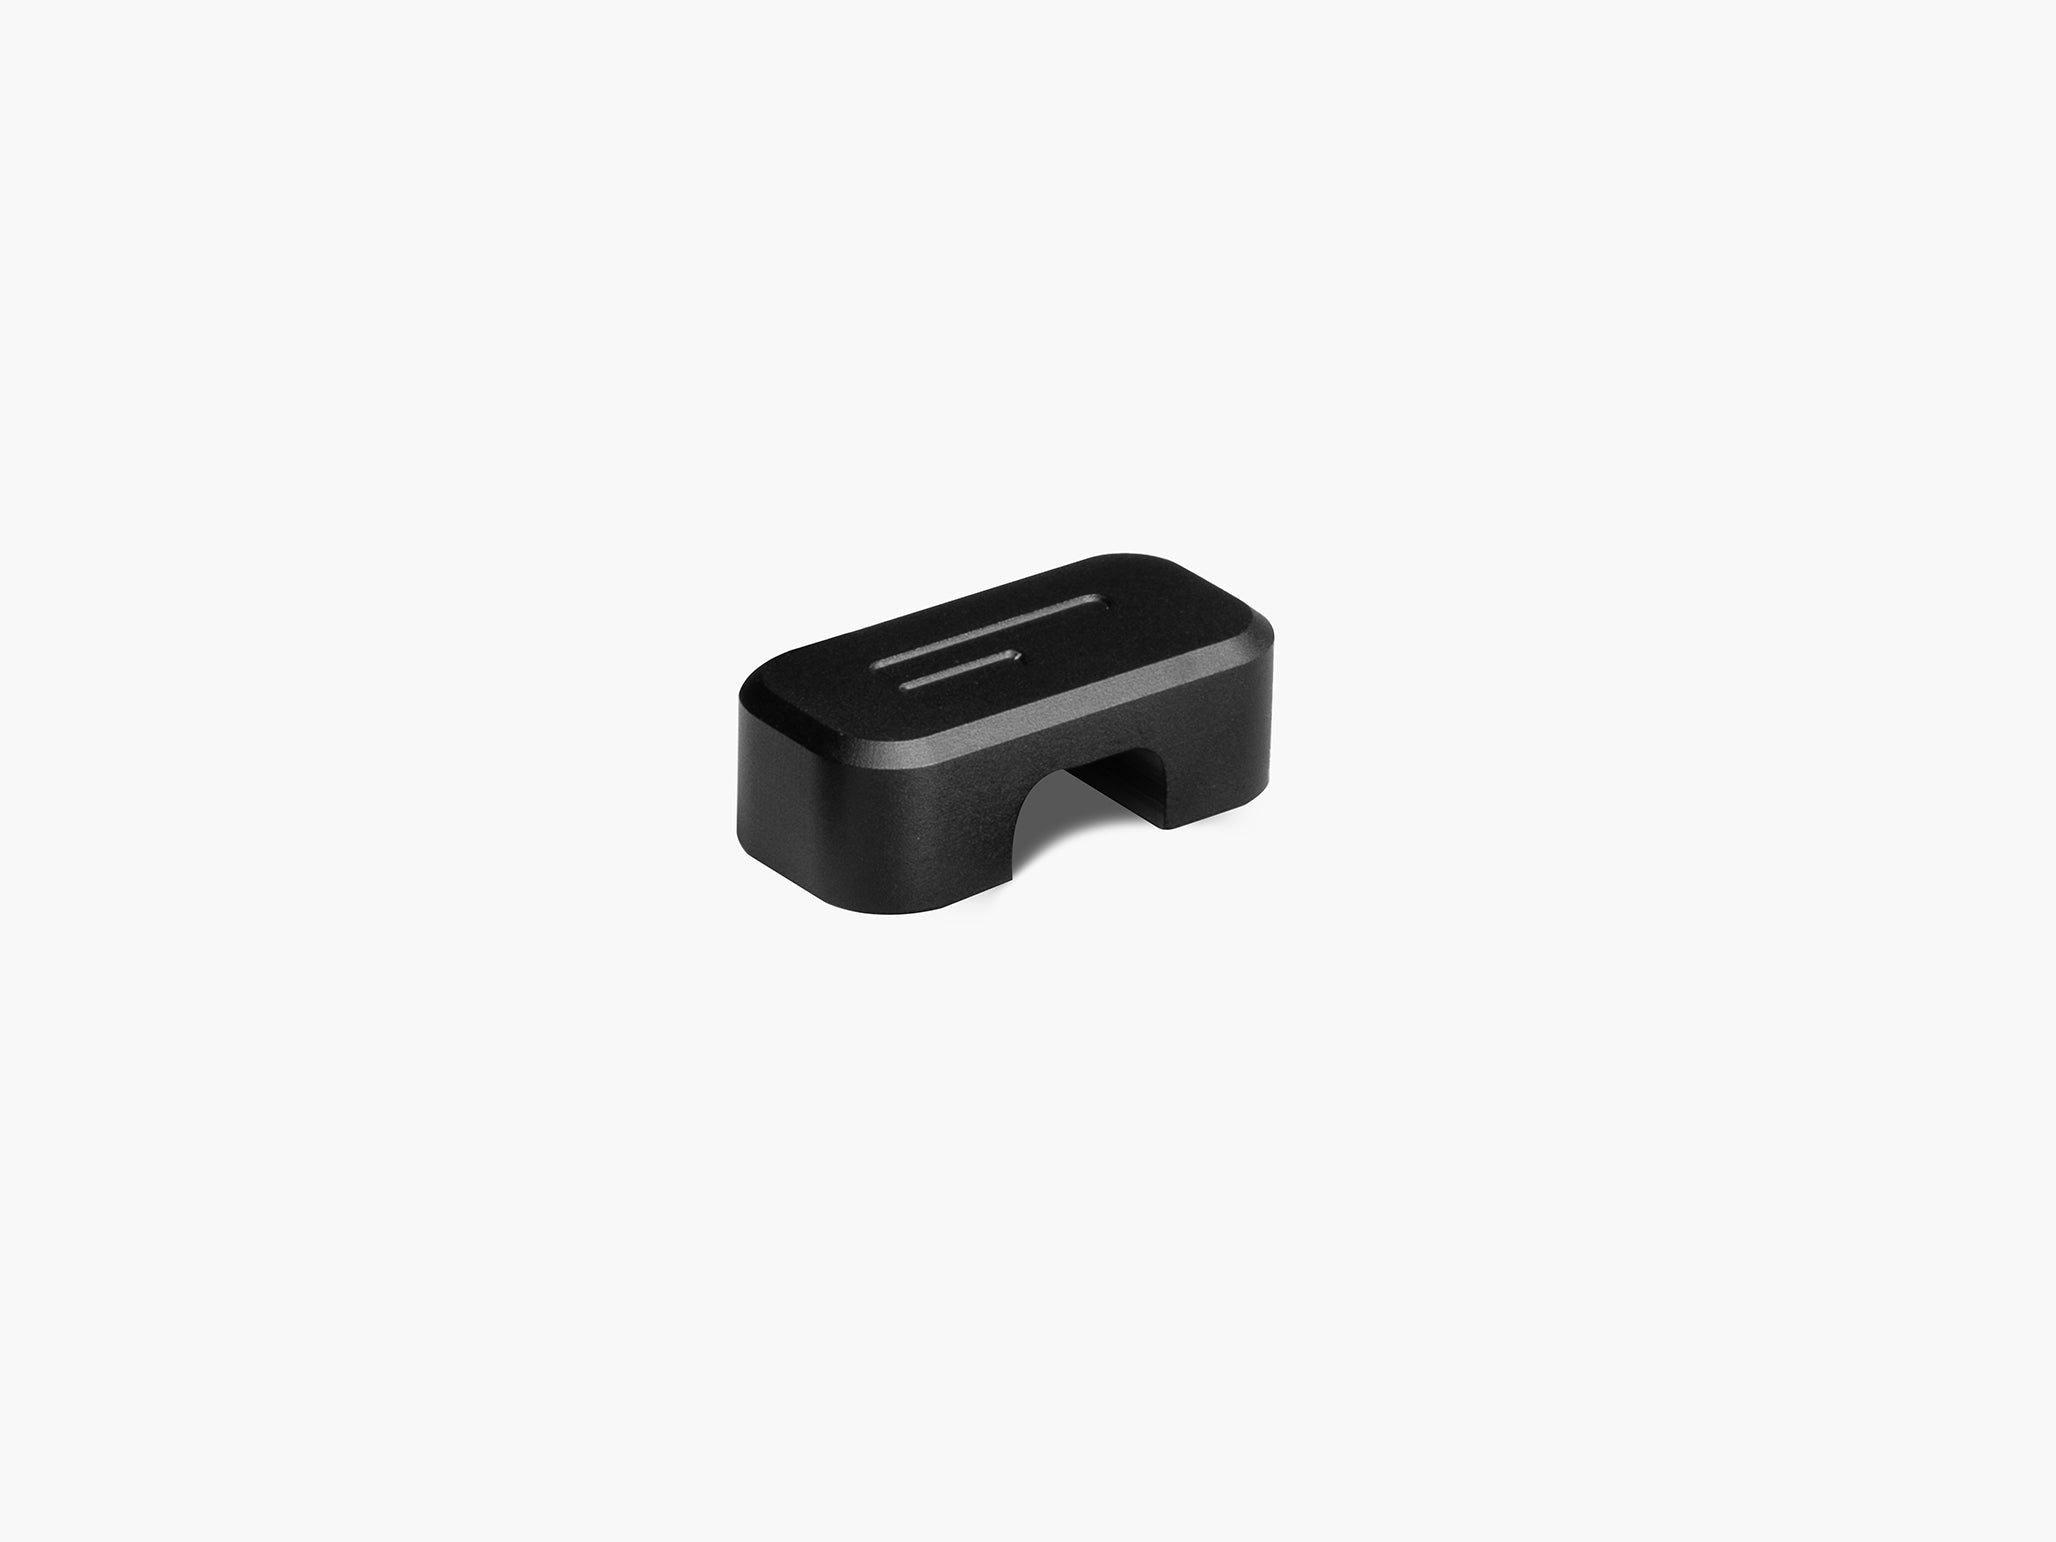
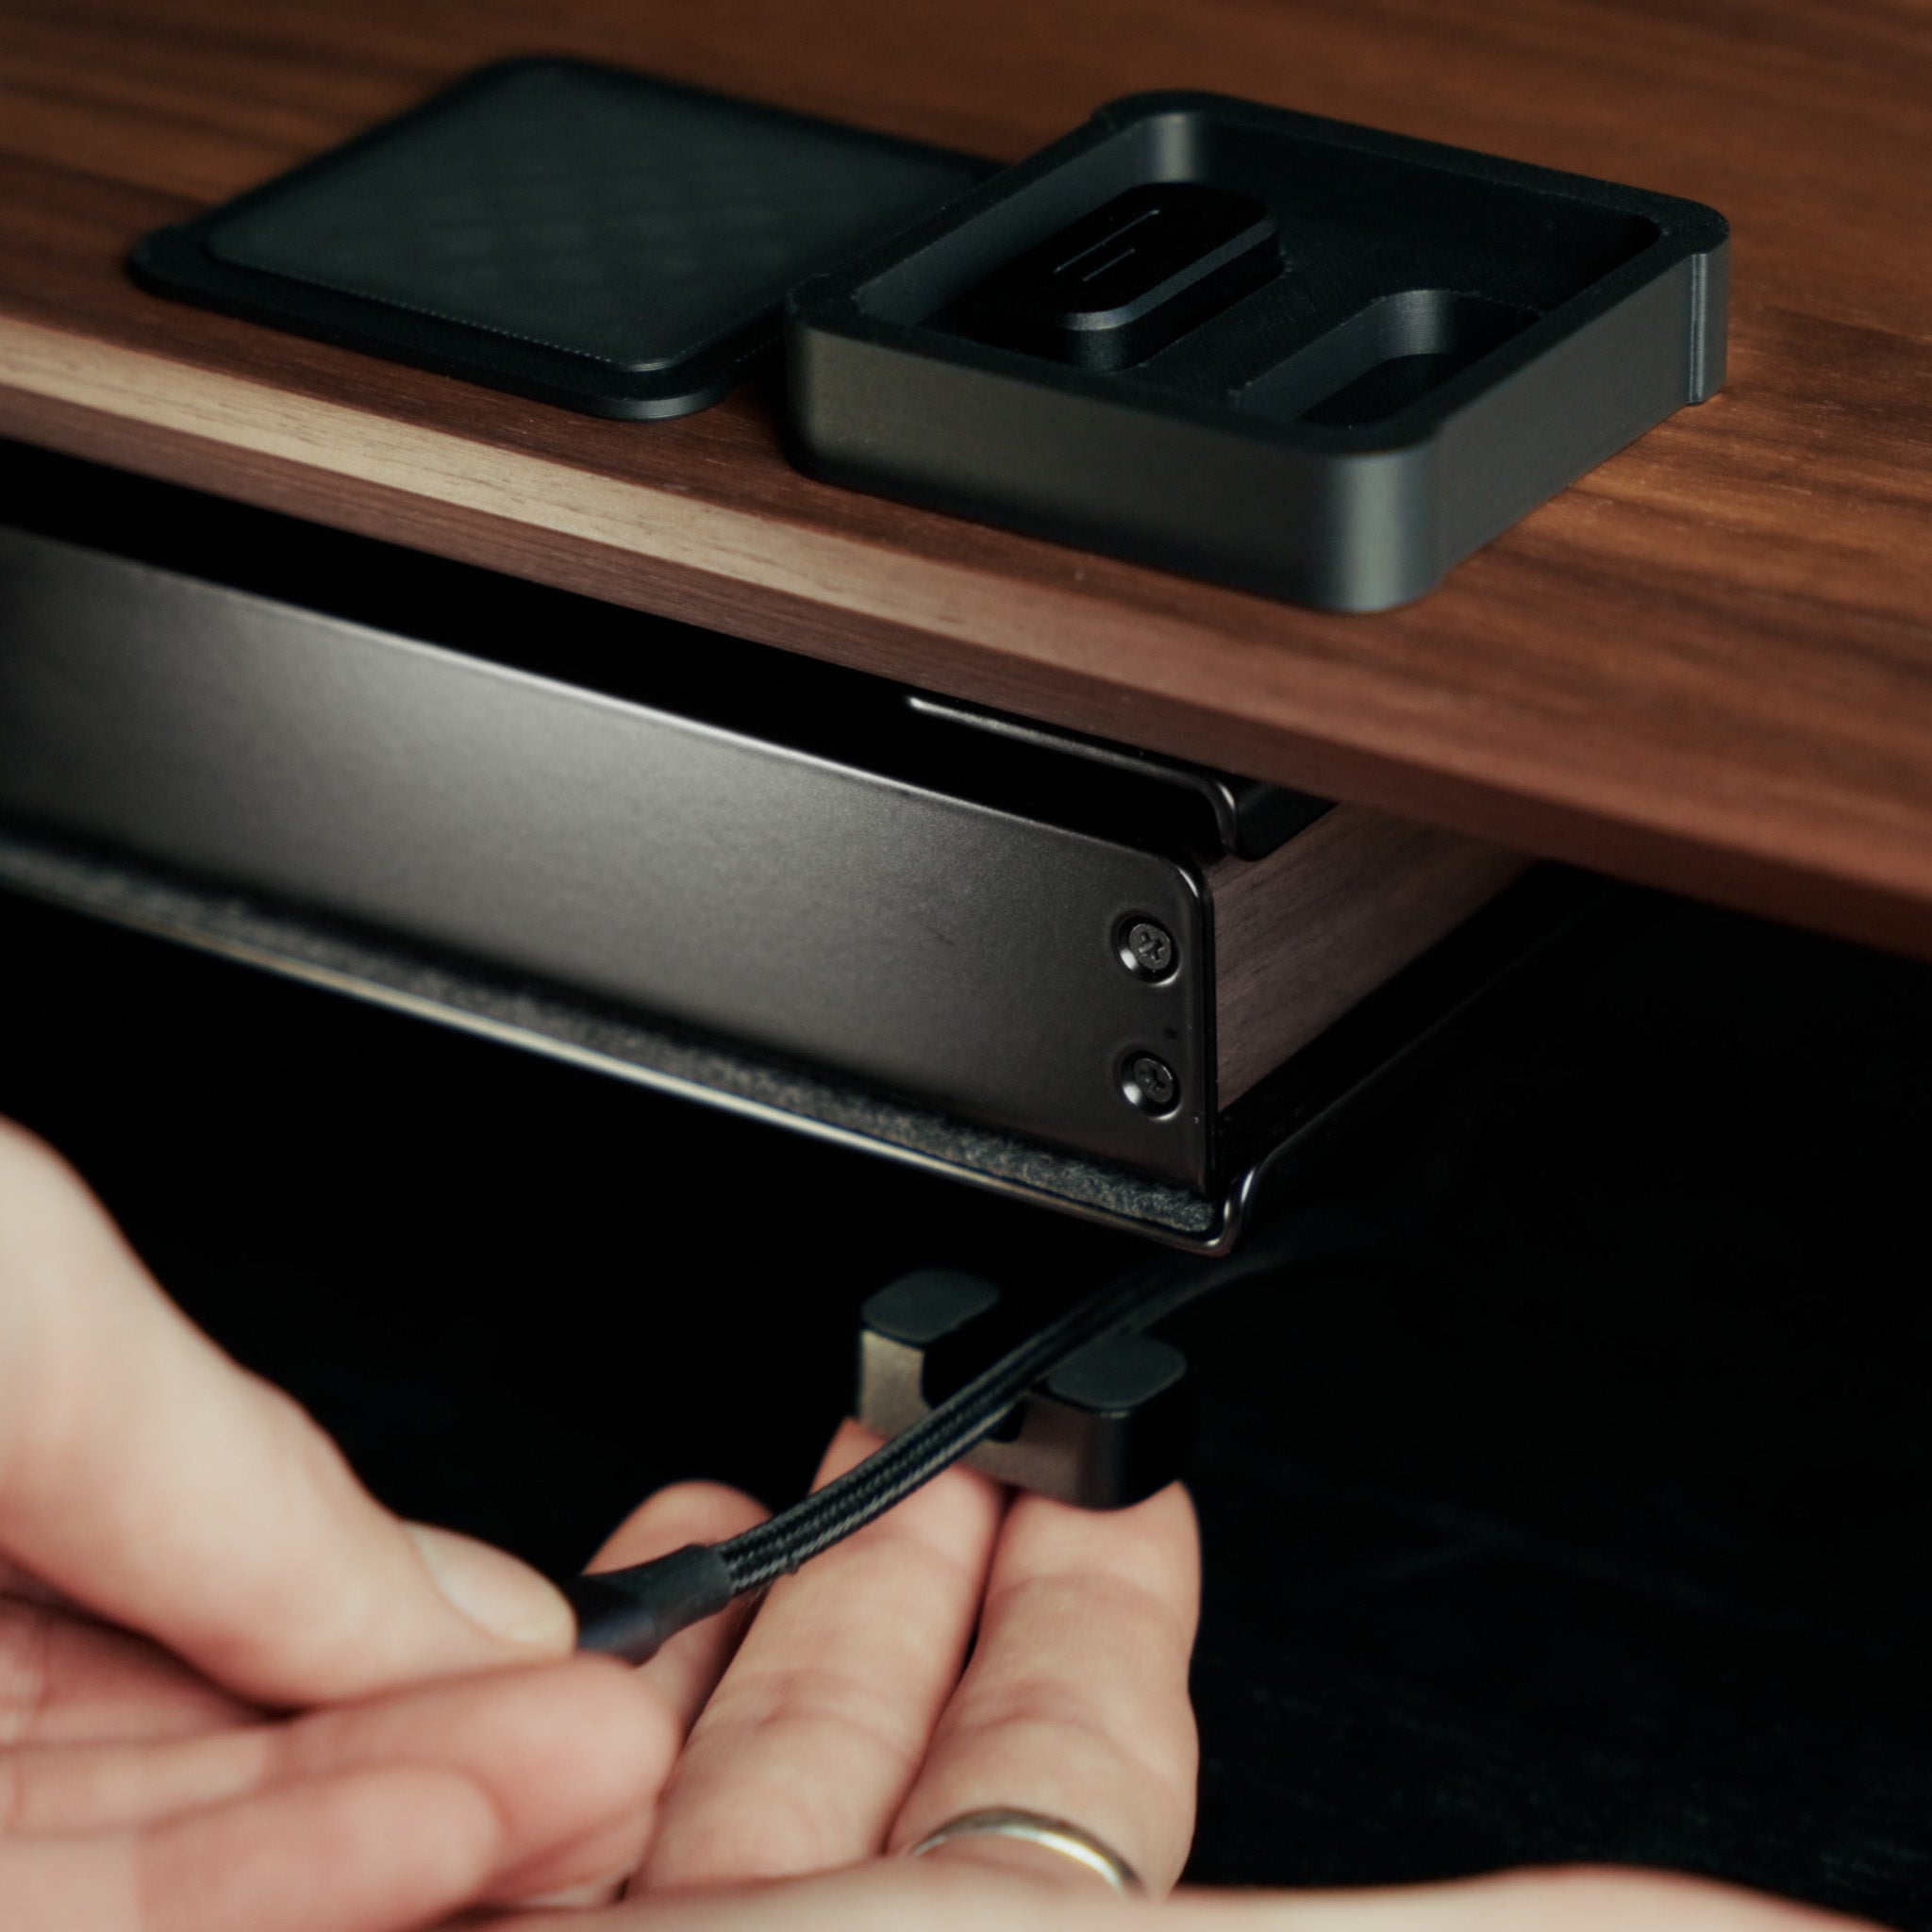
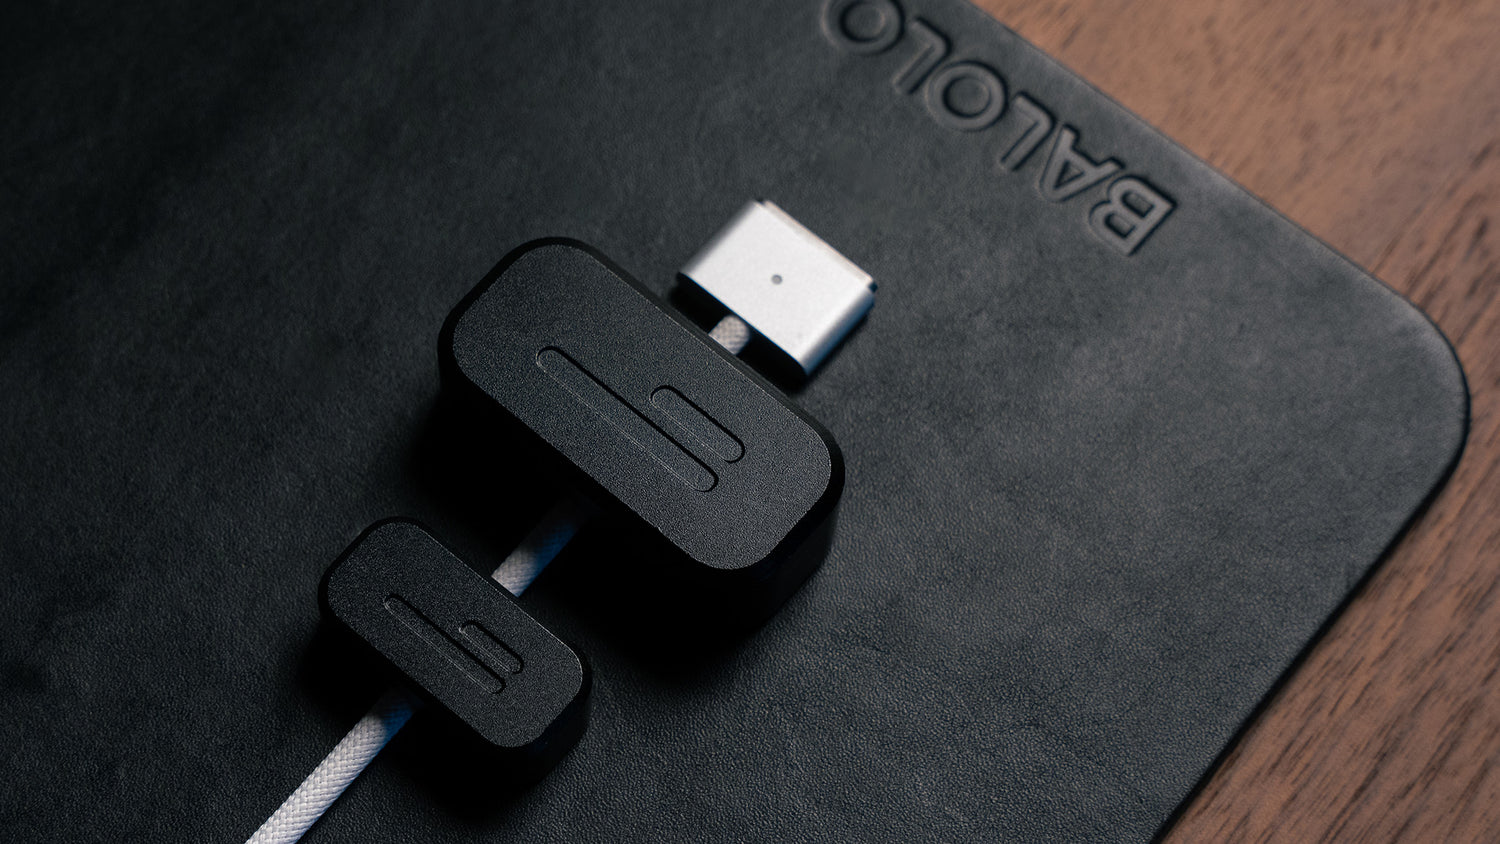
A cable magnet creates a fixed parking position for the cable end. Instead of searching below the desk every time you need to charge a device, the cable remains exactly where you expect it.

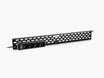
Our Cable Magnets can be positioned magnetically on compatible modular add-ons. They are made from aluminium and use N52 magnets with silicone pads.
This solution works particularly well for:
- USB-C laptop charging cables
- iPhone charging cables
- Tablet cables
- Headphone cables
- Cables that are connected and disconnected frequently
The cable remains available without lying loosely across the desk. This creates a cleaner surface while preserving the flexibility of a normal charging cable.
When to Choose the Cable Magnet Large
Not every cable has the same diameter or weight.
The Cable Magnet Large is designed for thicker cables such as power, HDMI and audio cables. It can be positioned magnetically on compatible add-ons or metal desk frames, and also uses an aluminium body, an N52 magnet and a protective silicone pad.

Choose the larger version when:
- the cable can't be held securely by a smaller holder
- you use a thick monitor power cable
- an HDMI cable needs a defined route
- a larger audio or power cable must stay accessible
- you want to attach the cable directly to a metal desk frame
Simple rule: choose the standard Cable Magnets for everyday charging cables, and the Cable Magnet Large for thicker power, display or audio cables.
Use Case 2: Cables Are Visible Around the Monitor Shelf
Best Product: Cable Organizer for Setup Cockpit
A monitor shelf can organize the visible objects on a desk, but the cables still need somewhere to go.
Monitor, laptop and charging cables often converge in the center of the workspace. Without a defined route, they remain visible behind the monitor or hang down from the edge of the shelf.
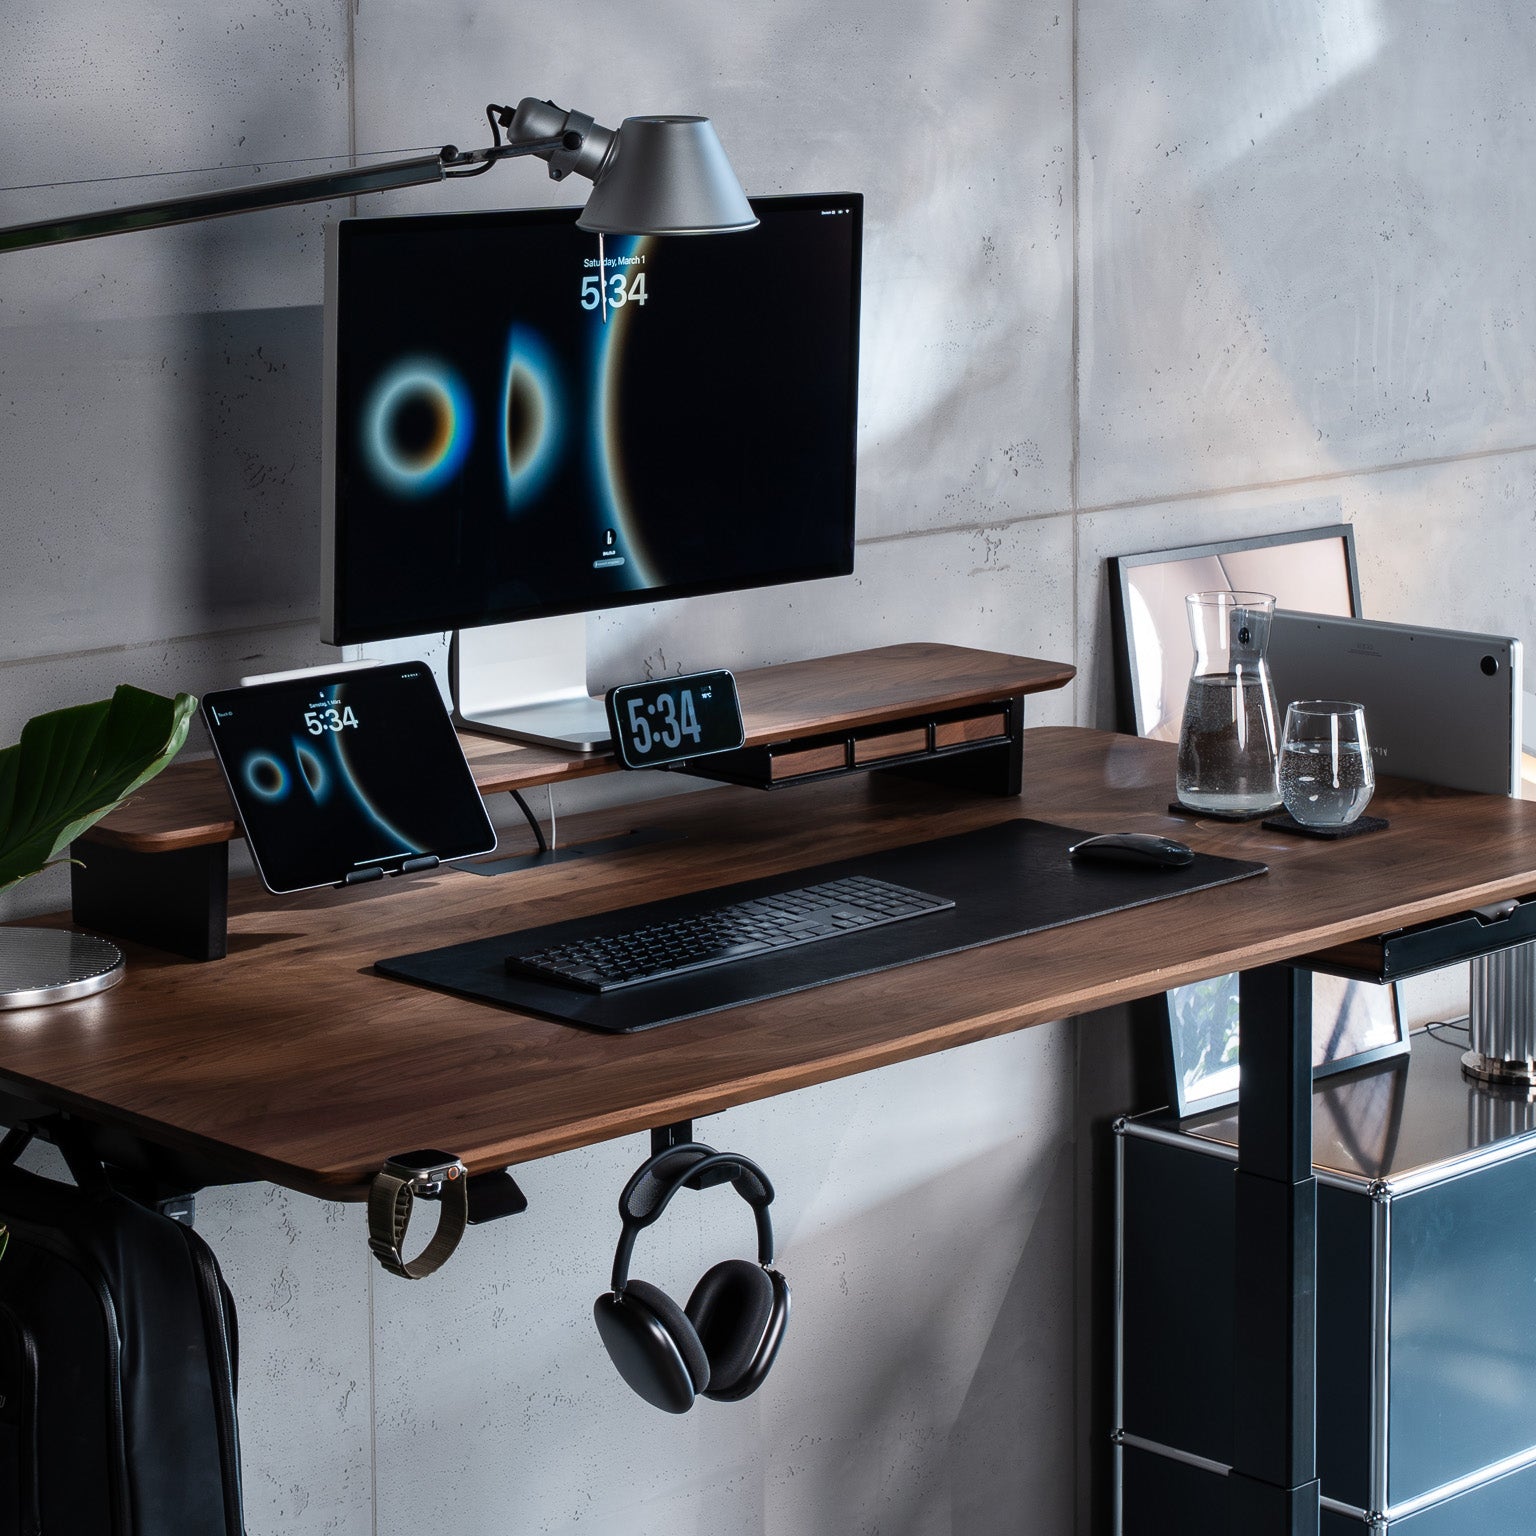
The Cable Organizer for Setup Cockpit is designed to bundle and hide up to ten cables beneath the monitor shelf. A side opening allows individual cables to be routed in or added later, while the organizer can be positioned flexibly on the Setup Cockpit.
It's the right choice when:
- you already use a Setup Cockpit
- several device cables meet behind the monitor
- you want to hide cables without installing a large under-desk tray
- your desktop is clean, but the back of the setup still looks untidy
- you regularly add or remove individual devices
The advantage of this solution is its proximity to the devices. Cables are organized immediately below the monitor shelf before they can spread across the desk.
Why the Setup Cockpit Creates a Better Cable Zone
The Setup Cockpit is built around a protected mounting grid for modular accessories. This makes the area beneath the monitor stand functional instead of leaving it unused.
For cable management, this creates a useful intermediate layer:
- Device cables leave the monitor, laptop or charger.
- The cables enter the Cable Organizer beneath the Setup Cockpit.
- They are bundled before continuing toward the under-desk system.
- Only the cable sections that need to remain accessible stay visible.
This is more effective than trying to hide every cable directly behind the desk.
Use Case 3: Power Strips and Adapters Create Clutter Under the Desk
Best Product: Cable Management System
When power strips, adapters and excess cable length sit on the floor, small cable clips are no longer enough.
You need an under-desk structure that holds the complete power infrastructure.

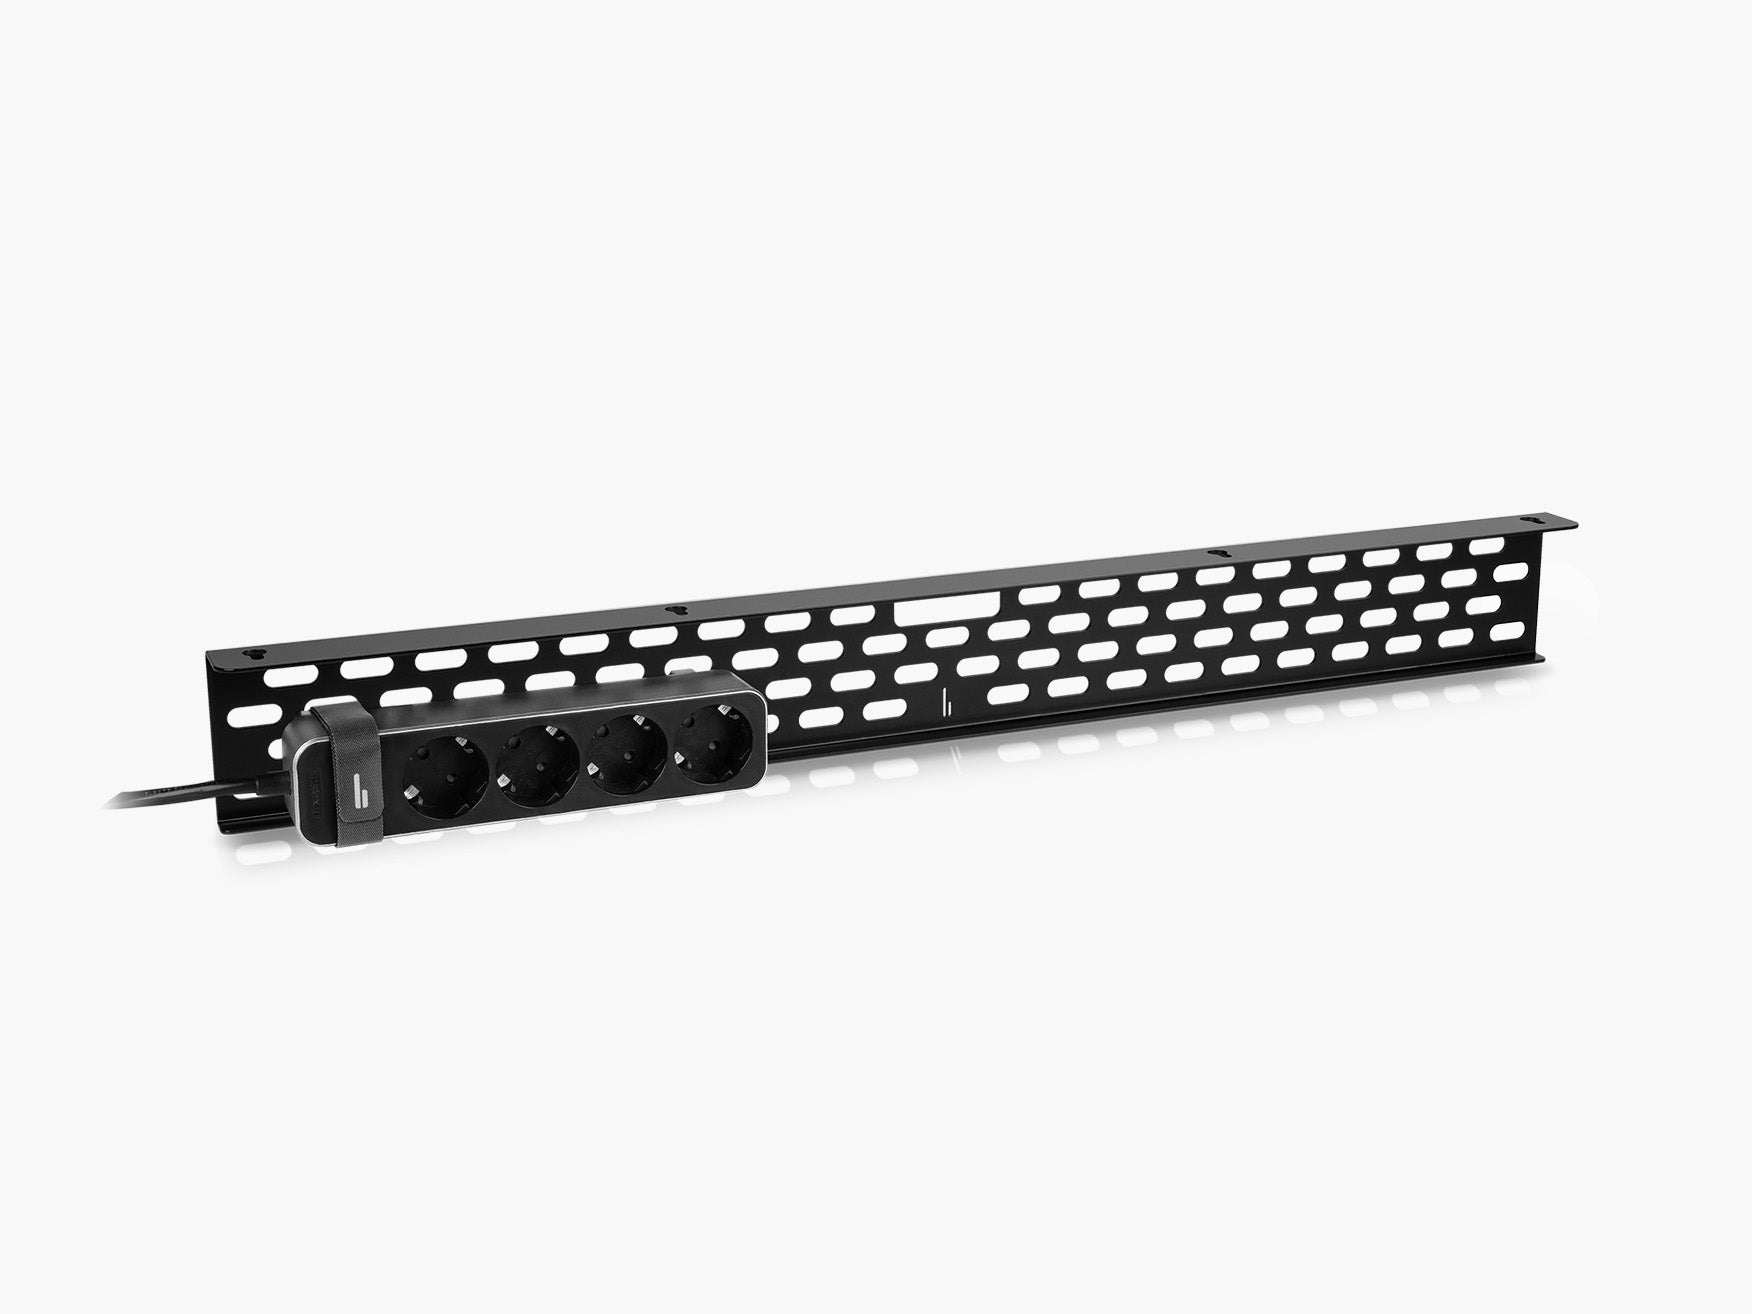
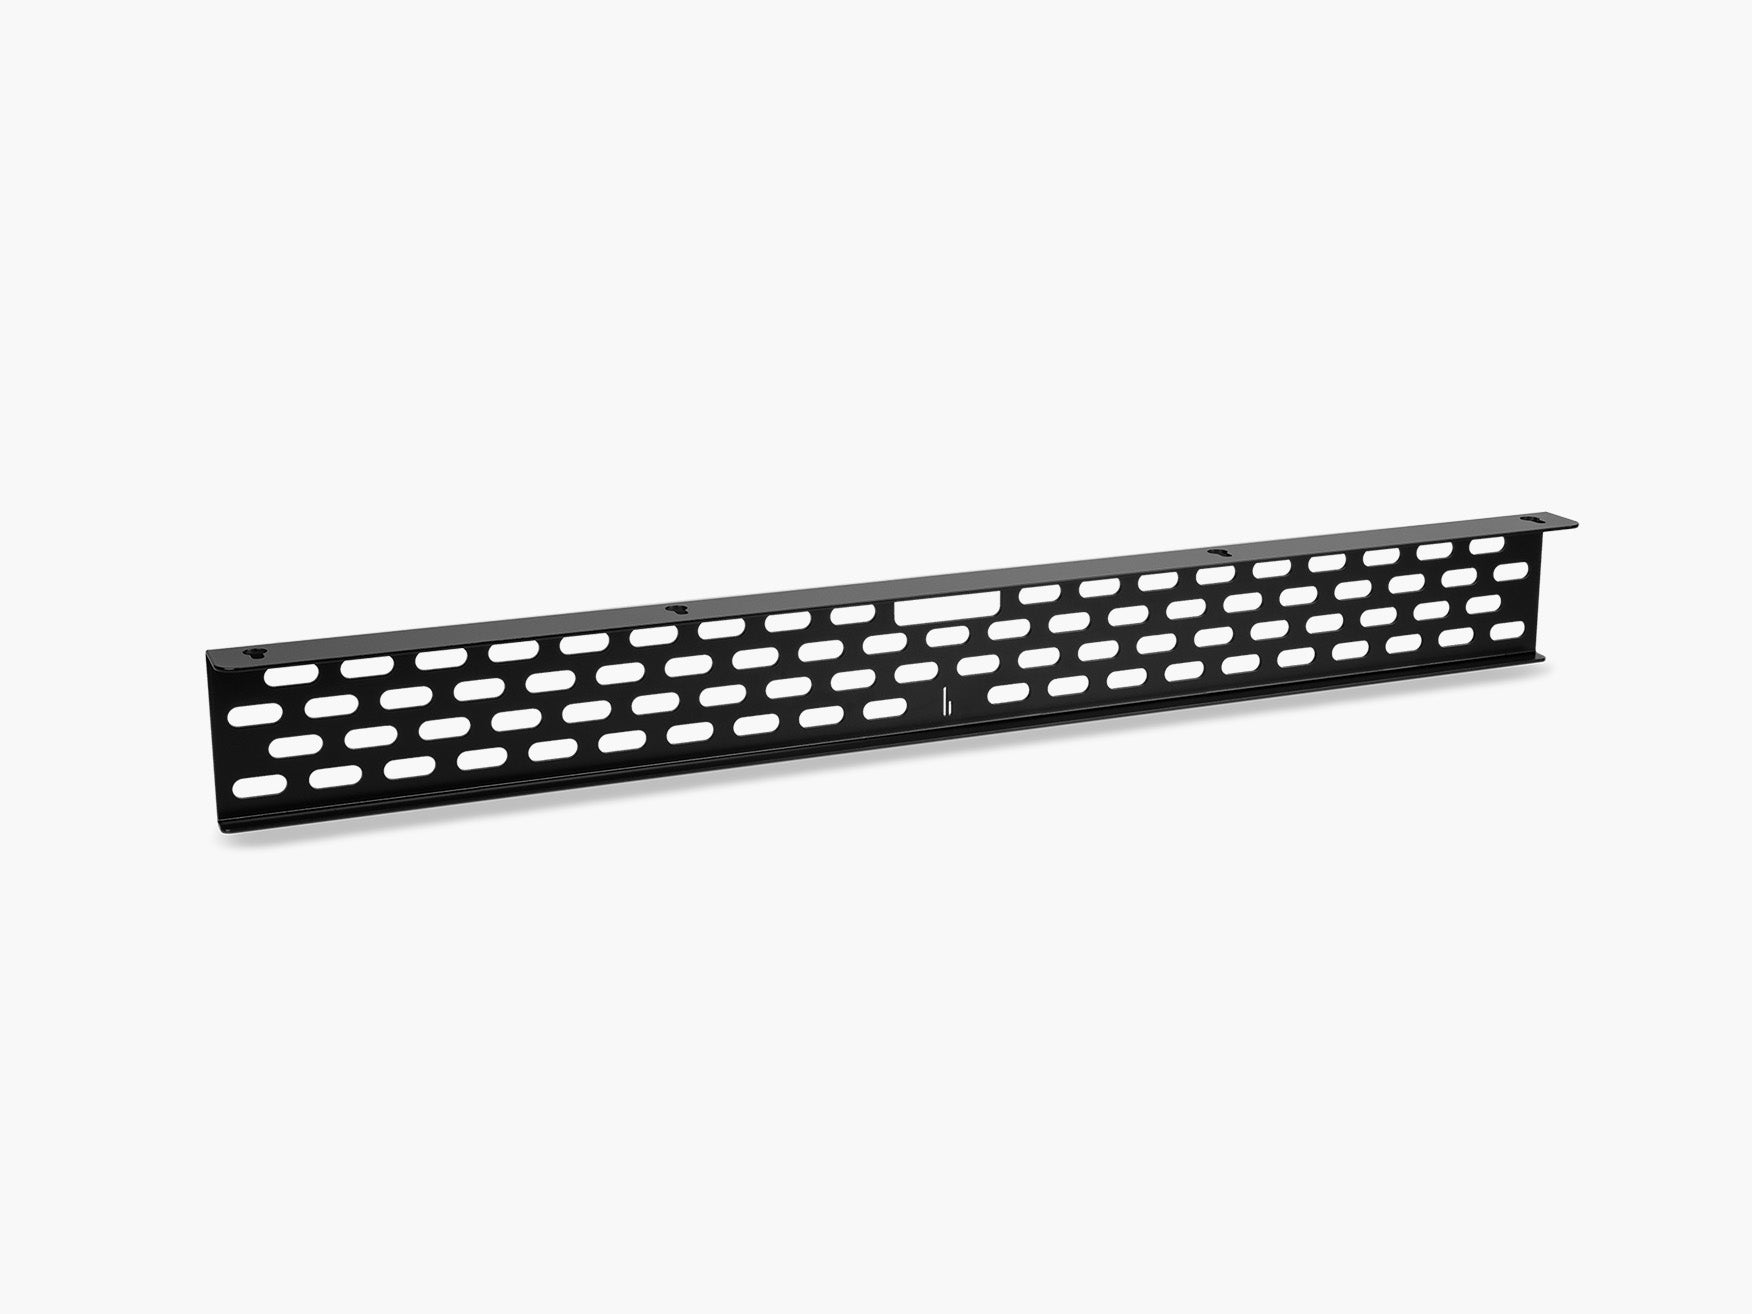
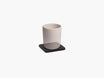
Our Cable Management System is mounted beneath the desktop. It provides space for cables and power strips, using a grid structure and reusable hook-and-loop straps for flexible organization.
It can be installed on the Desk Cockpit or on other wooden desks. This makes it the most versatile solution for a conventional home office or professional workspace.
Choose the Cable Management System when:
- a power strip lies on the floor
- several large adapters need to be secured
- excess cable length hangs beneath the desk
- you want to clean under the desk more easily
- your devices change and the cable layout must remain adjustable
- you use a wooden desk without an integrated cable compartment
The system is made from powder-coated steel and includes hook-and-loop straps in different sizes. This allows the cable arrangement to be changed without replacing adhesive clips whenever a device is added or removed.
Why Flexibility Matters
A cable management setup should not only look clean on the day it is installed.
Your workspace may change when you:
- replace a monitor
- add a docking station
- move from a desktop computer to a laptop
- add speakers or studio equipment
- change the desk position
- introduce new charging devices
Reusable straps and an open grid make these adjustments easier. You can remove one cable without dismantling the complete system.
That's the difference between a temporary cable-hiding trick and a long-term desk cable management solution.
Use Case 4: You Want Cable Management Integrated Into the Desk
Best Product: Cable Tray for the Desk Cockpit
For a completely integrated setup, cable management should be considered before the cables reach the underside of the desk.

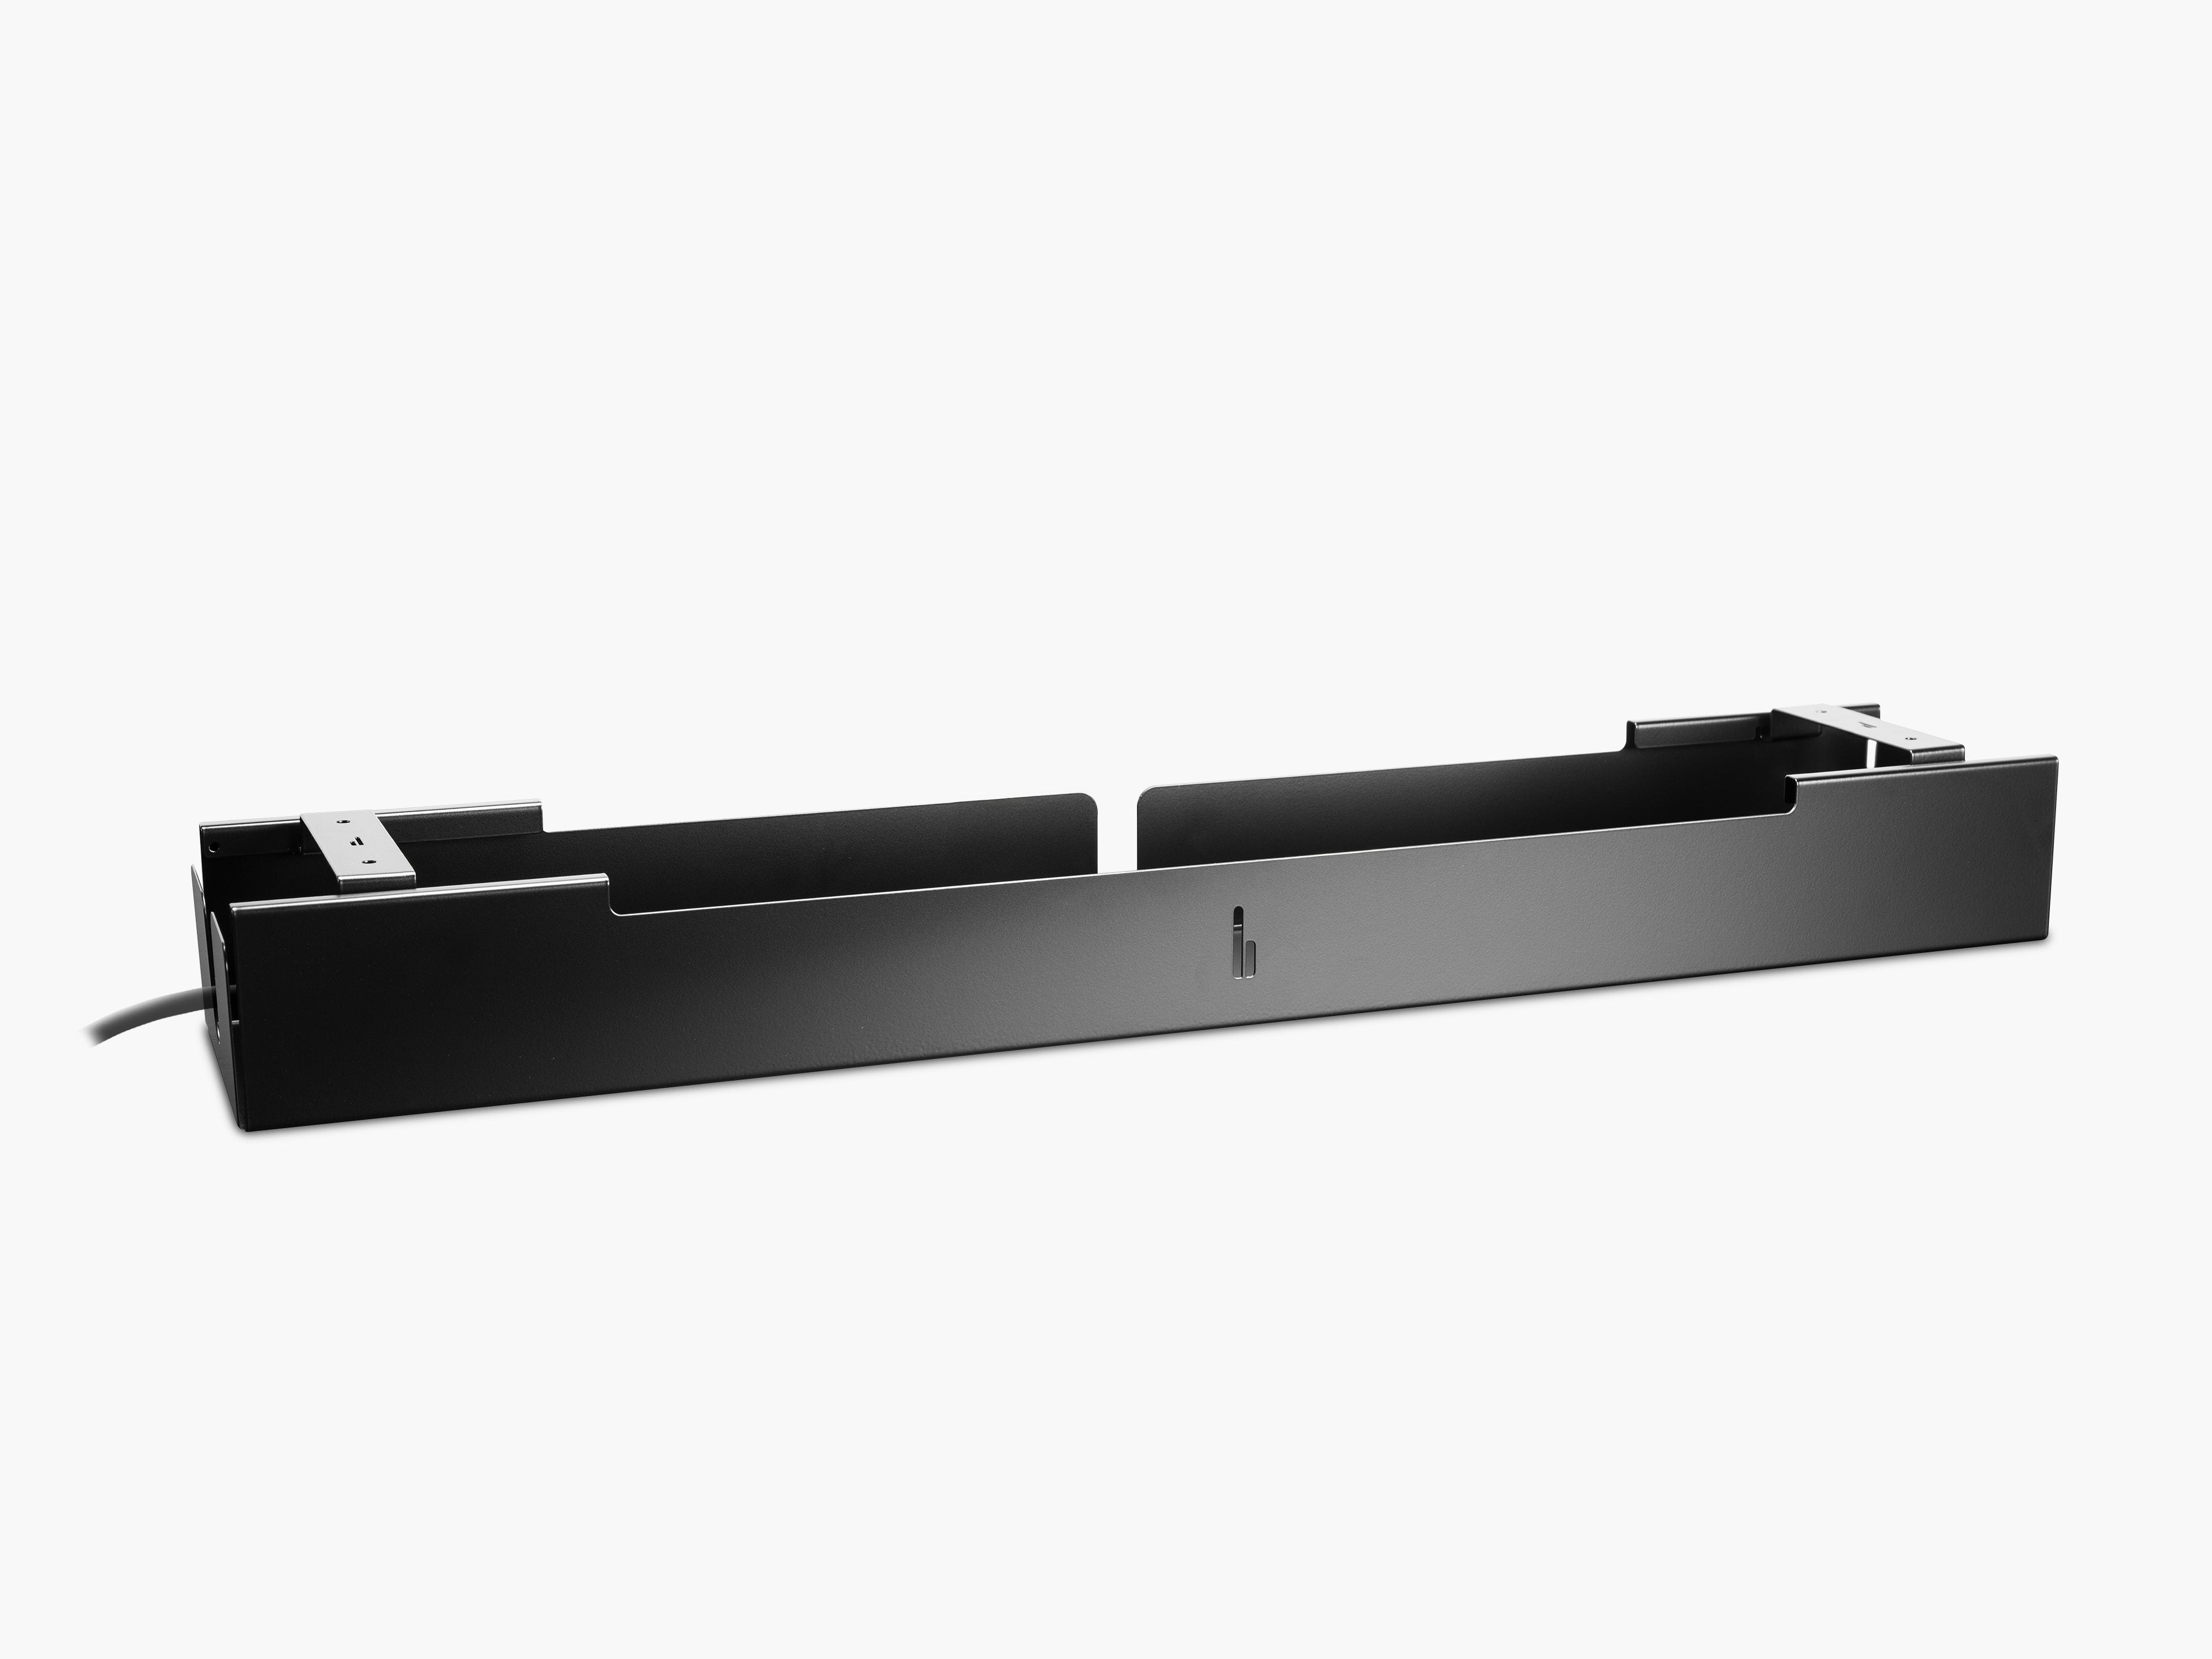
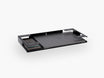
The Cable Tray is designed specifically for the Desk Cockpit. It conceals cables and power strips beneath the desktop and uses the opening in the Desk Cockpit to guide cables cleanly downward.
This is the most integrated option when:
- you use the Desk Cockpit
- you want the power strip to become part of the desk system
- you're building a workspace from the ground up
- you use a height-adjustable desk
- you want as little visible cable infrastructure as possible
The Desk Cockpit itself combines an electrically height-adjustable frame with a modular mounting grid and integrated cable-management options.
Instead of adding cable management as an afterthought, the desk and its accessories form one coordinated system.
Cable Tray or Cable Management System?
The products solve a similar problem, but they suit different workspaces.
Choose the Cable Management System when you want a flexible under-desk organizer for the Desk Cockpit or another wooden desk.
Choose the Cable Tray when you use the Desk Cockpit and want a solution designed around its cable opening and modular architecture.
The Cable Management System is the more universal choice. The Cable Tray provides the highest level of integration.
Use Case 5: You Want to Charge Your Phone Without a Visible Cable
Best Product: MagSafe Holder for Setup Cockpit
Wireless charging removes the need to connect a cable directly to the phone. But the charger itself still needs power.
That cable can quickly undermine the clean look of an otherwise minimal setup.
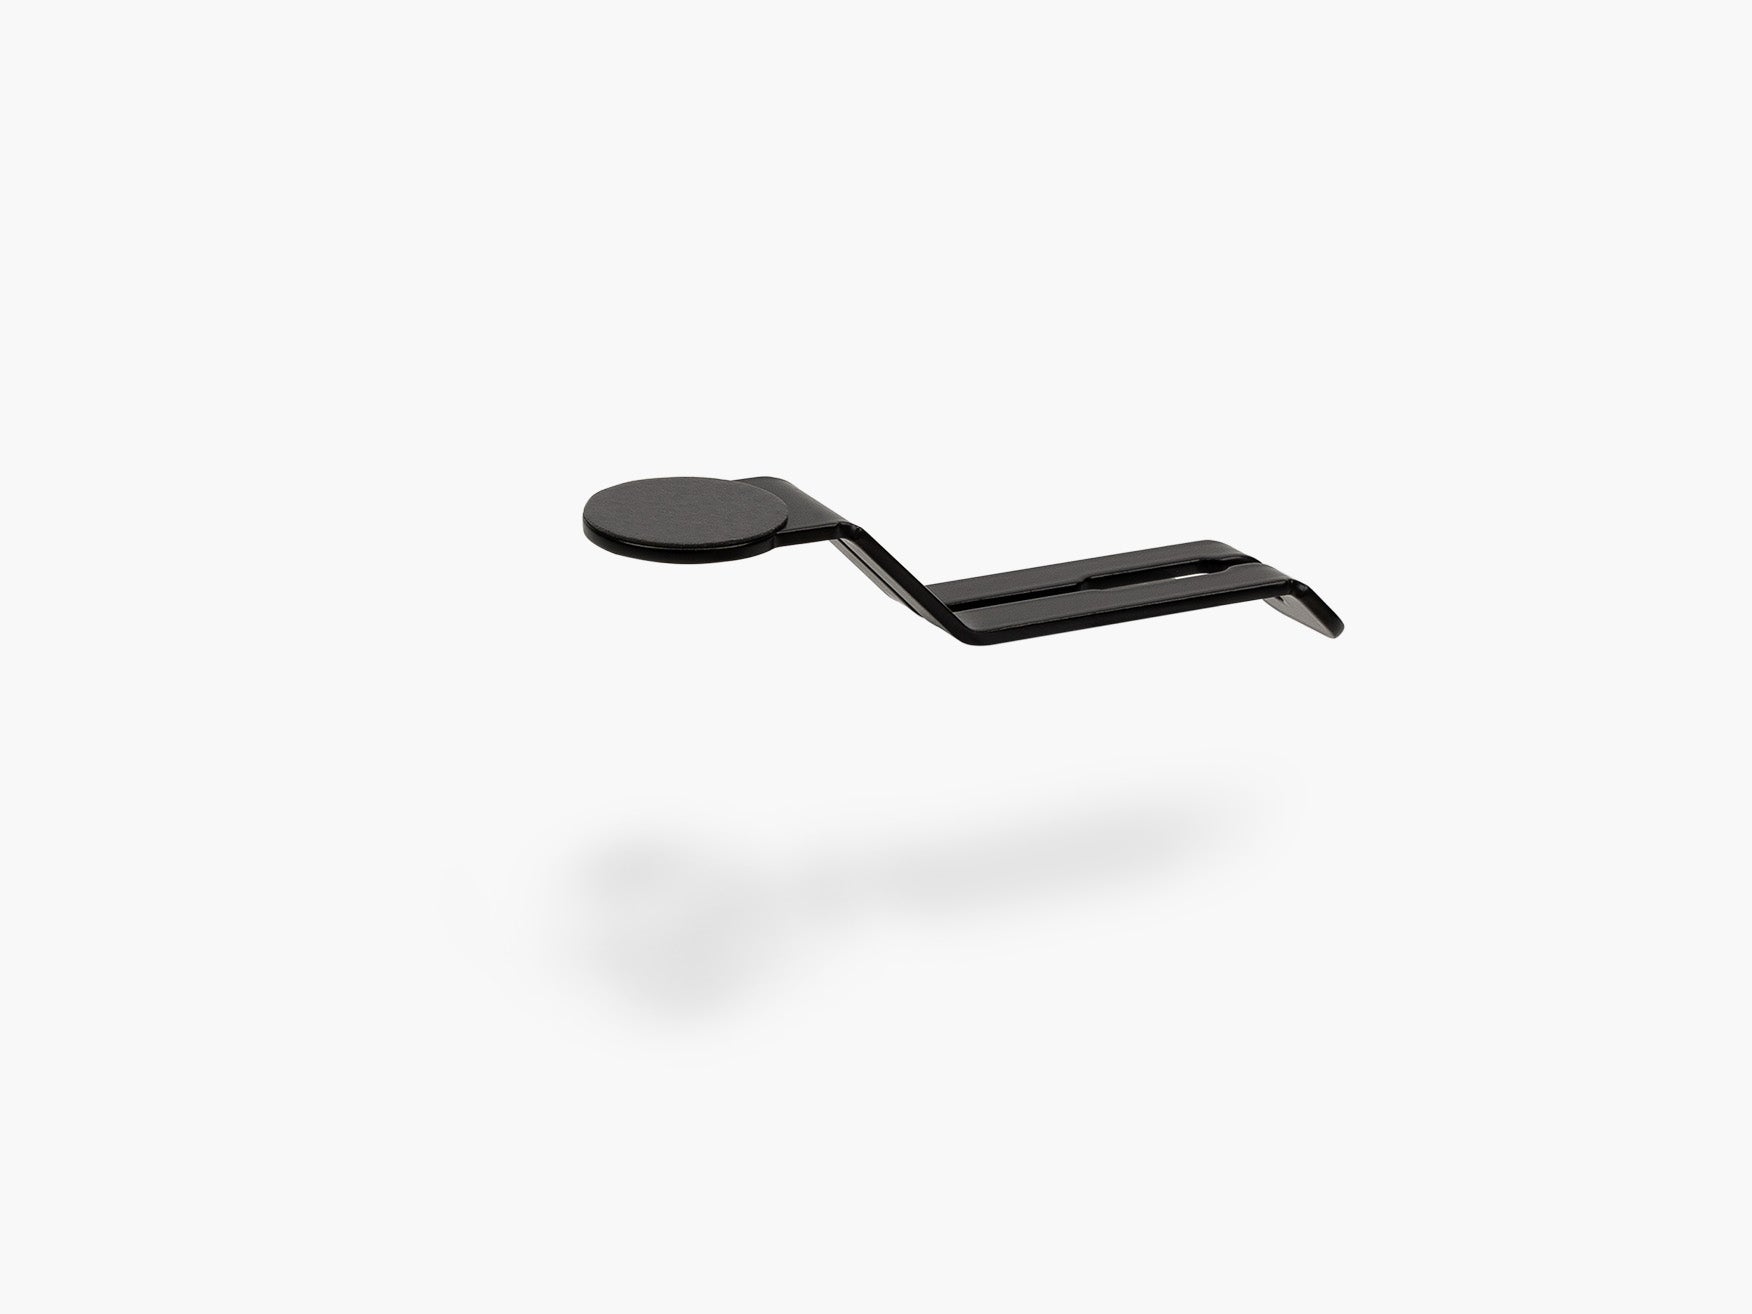
The MagSafe Holder for Setup Cockpit positions a compatible iPhone within view, while its Cable Guide Technology hides the charging cable beneath the monitor shelf. The holder can be used in horizontal or vertical orientation.
This solution is useful when:
- your iPhone remains part of your workflow
- you use the phone for calls, notifications or authentication
- you want to charge it without placing a loose charging puck on the desk
- you already use a Setup Cockpit
- you want the device and its cable to have a permanent position
This illustrates an important principle: the best cable management is sometimes integrated directly into the product that uses the cable.
How to Build a Complete Cable Management Setup
The following process works for most home offices, creator workspaces and professional desk setups.
Step 1: Disconnect Everything
Remove all unnecessary cables before buying organizers.
Old chargers, duplicate cables and disconnected adapters often remain beneath a desk simply because nobody knows what they belong to.
Only reconnect what the current setup needs.
Step 2: Position the Devices First
Place your monitor, laptop, dock, speakers and chargers in their final positions.
Cable management should support the workflow. It should not determine where you're allowed to place your devices.
Step 3: Separate Permanent and Flexible Cables
Permanent cables include:
- monitor power
- HDMI or DisplayPort
- docking station power
- speaker power
- desk lamp power
Flexible cables include:
- smartphone charging
- laptop charging
- headphones
- cameras
- external drives
Route permanent cables through a Cable Organizer or under-desk system. Keep flexible cables accessible with Cable Magnets.
Step 4: Mount the Power Strip Under the Desk
The power strip is normally the central point of the cable system.
Moving it beneath the desktop reduces the number of cables that must travel to the floor. Ideally, only the power strip's main cable continues toward the wall socket.
Step 5: Bundle Excess Cable Length
Do not wrap excess cable too tightly around adapters or power supplies.
Instead, create loose, organized loops and secure them with reusable straps. This keeps individual cables identifiable and easier to replace.
Step 6: Create One Route to the Wall
Combine the remaining downward cables into one controlled path.
For a height-adjustable desk, test the cable length at both the lowest and highest positions before finalizing the installation.
Step 7: Label Complex Connections
Labels are useful when several cables look identical.
This is especially helpful for dual-monitor setups, audio equipment, external storage and network hardware.
A clean setup should not become difficult to maintain.
Common Desk Cable Management Mistakes
Hiding Cables Without Organizing Them
Pushing every cable into a closed box may improve the appearance, but it can make changes and troubleshooting unnecessarily difficult.
Group cables according to their device or function.
Using Permanent Adhesive for Every Cable
Adhesive clips can be useful, but they're less suitable for frequently changing setups.
Use reusable straps and modular holders for cables that may need to move.
Mounting Everything Too Far From the Devices
A large under-desk organizer cannot solve loose charging cables on the desktop.
Use local cable guides near the monitor shelf and cable magnets near the points where cables are actually used.
Forgetting Desk Movement
Height-adjustable desks need enough cable length for the complete movement range.
Raise and lower the desk before securing the final section of the cable route.
Creating an Inaccessible Power Strip
The power strip should be hidden, but it should not become impossible to reach.
Leave enough access to replace an adapter or disconnect a device without removing the complete cable management system.
Which BALOLO Cable Management Setup Is Right for You?
Minimal Laptop Setup
Choose:
This combination keeps one or two charging cables accessible while hiding the power strip and excess cable length below the desk.
Setup Cockpit Home Office
Choose:
The Cable Organizer handles monitor and device cables near the shelf. Cable Magnets keep frequently used cables accessible. The under-desk system manages the power infrastructure.
Apple-Focused Setup
Choose:
- MagSafe Holder for Setup Cockpit
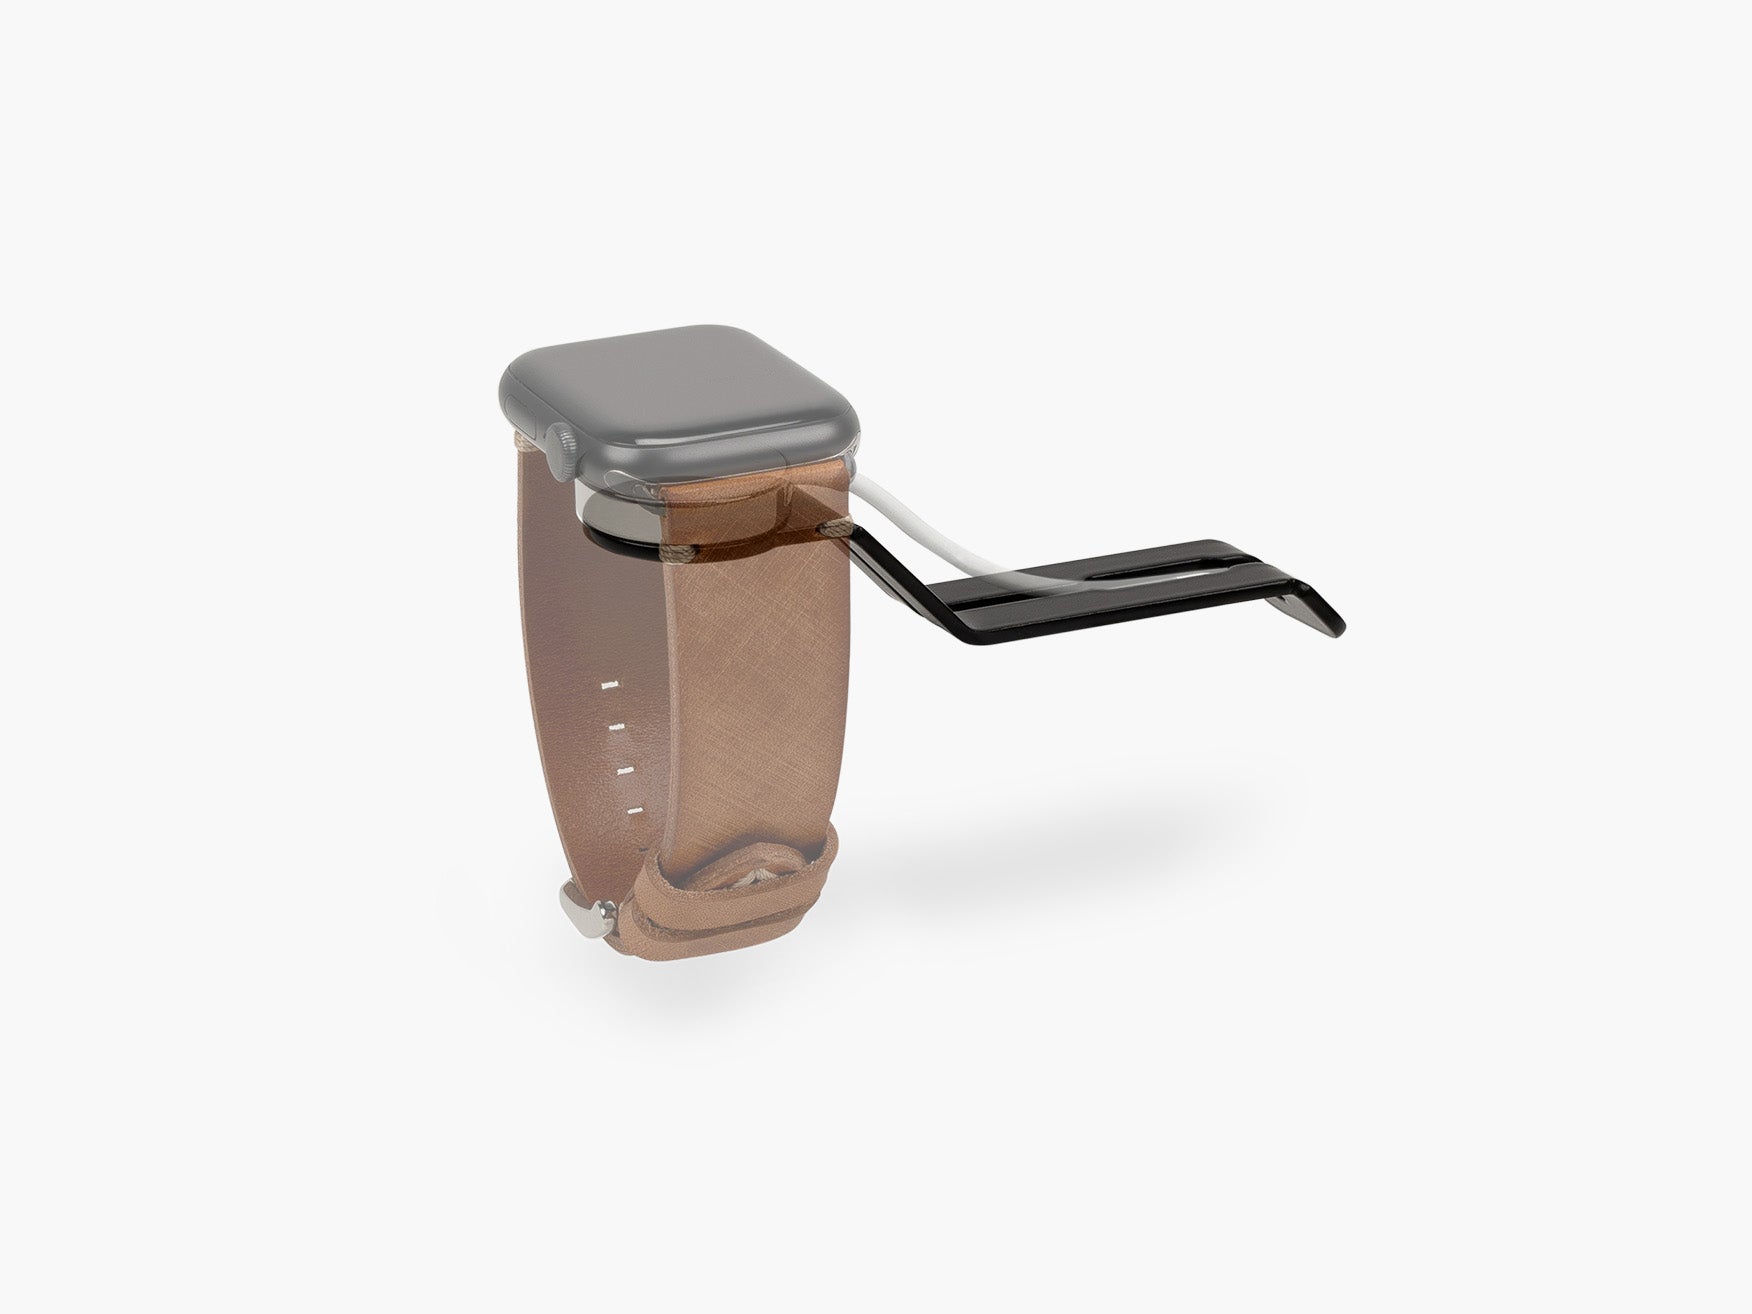
- Apple Watch Holder for Setup Cockpit
- Cable Organizer for Setup Cockpit
- Cable Magnets
This creates permanent positions for charging devices while keeping the associated cables hidden or controlled.
Creator or Dual-Monitor Setup
Choose:
The combination is suitable for a larger number of monitor, audio, power and peripheral cables.
Fully Integrated Desk Cockpit Setup
Choose:
- Cable Tray
- Cable Organizer for Setup Cockpit
- Cable Magnets
- device-specific holders
This is the most complete solution for a modular workspace in which the desk, monitor shelf, devices and cable infrastructure work together.
A Clear Desk Starts Below the Surface
Effective cable management is not about making every cable disappear.
It's about deciding which cables need to remain accessible, which should be guided, and which should be hidden beneath the desk.
Explore our cable management solutions and build a desk setup in which every cable has a defined place.
Frequently Asked Questions
What is the best cable management for a desk?
The best desk cable management system combines accessible cable holders on the desktop, cable guides near permanent devices and an under-desk organizer for power strips, adapters and excess cable length.
How can I hide cables under my desk?
Mount the power strip and excess cable length beneath the desktop using a cable management system or desk cable tray. Route the remaining power cable to the wall as one organized bundle.
What is the difference between a cable tray and a cable organizer?
A cable tray provides a larger enclosed area for power strips and cables. A cable organizer may use a grid, straps or individual holders to create a more flexible cable layout.
Are cable magnets suitable for every cable?
Standard cable magnets are best for common charging and accessory cables. Larger power, HDMI and audio cables may require a larger cable magnet designed for their additional diameter and weight.
How do I manage cables on a standing desk?
Attach the power strip and adapters to the moving desktop rather than leaving them on the floor. Then provide one sufficiently long cable route from the desk to the wall, and test it at the desk's highest and lowest settings.
How often should cable management be updated?
Review the system whenever you add or remove a major device. A brief check every few months also helps remove unused cables and prevent unnecessary clutter.